A Little Bit of Context
This is the story of how I created the first tent-able magnetic keyboard case that doubles as carrying case, in the world (as far as I know).
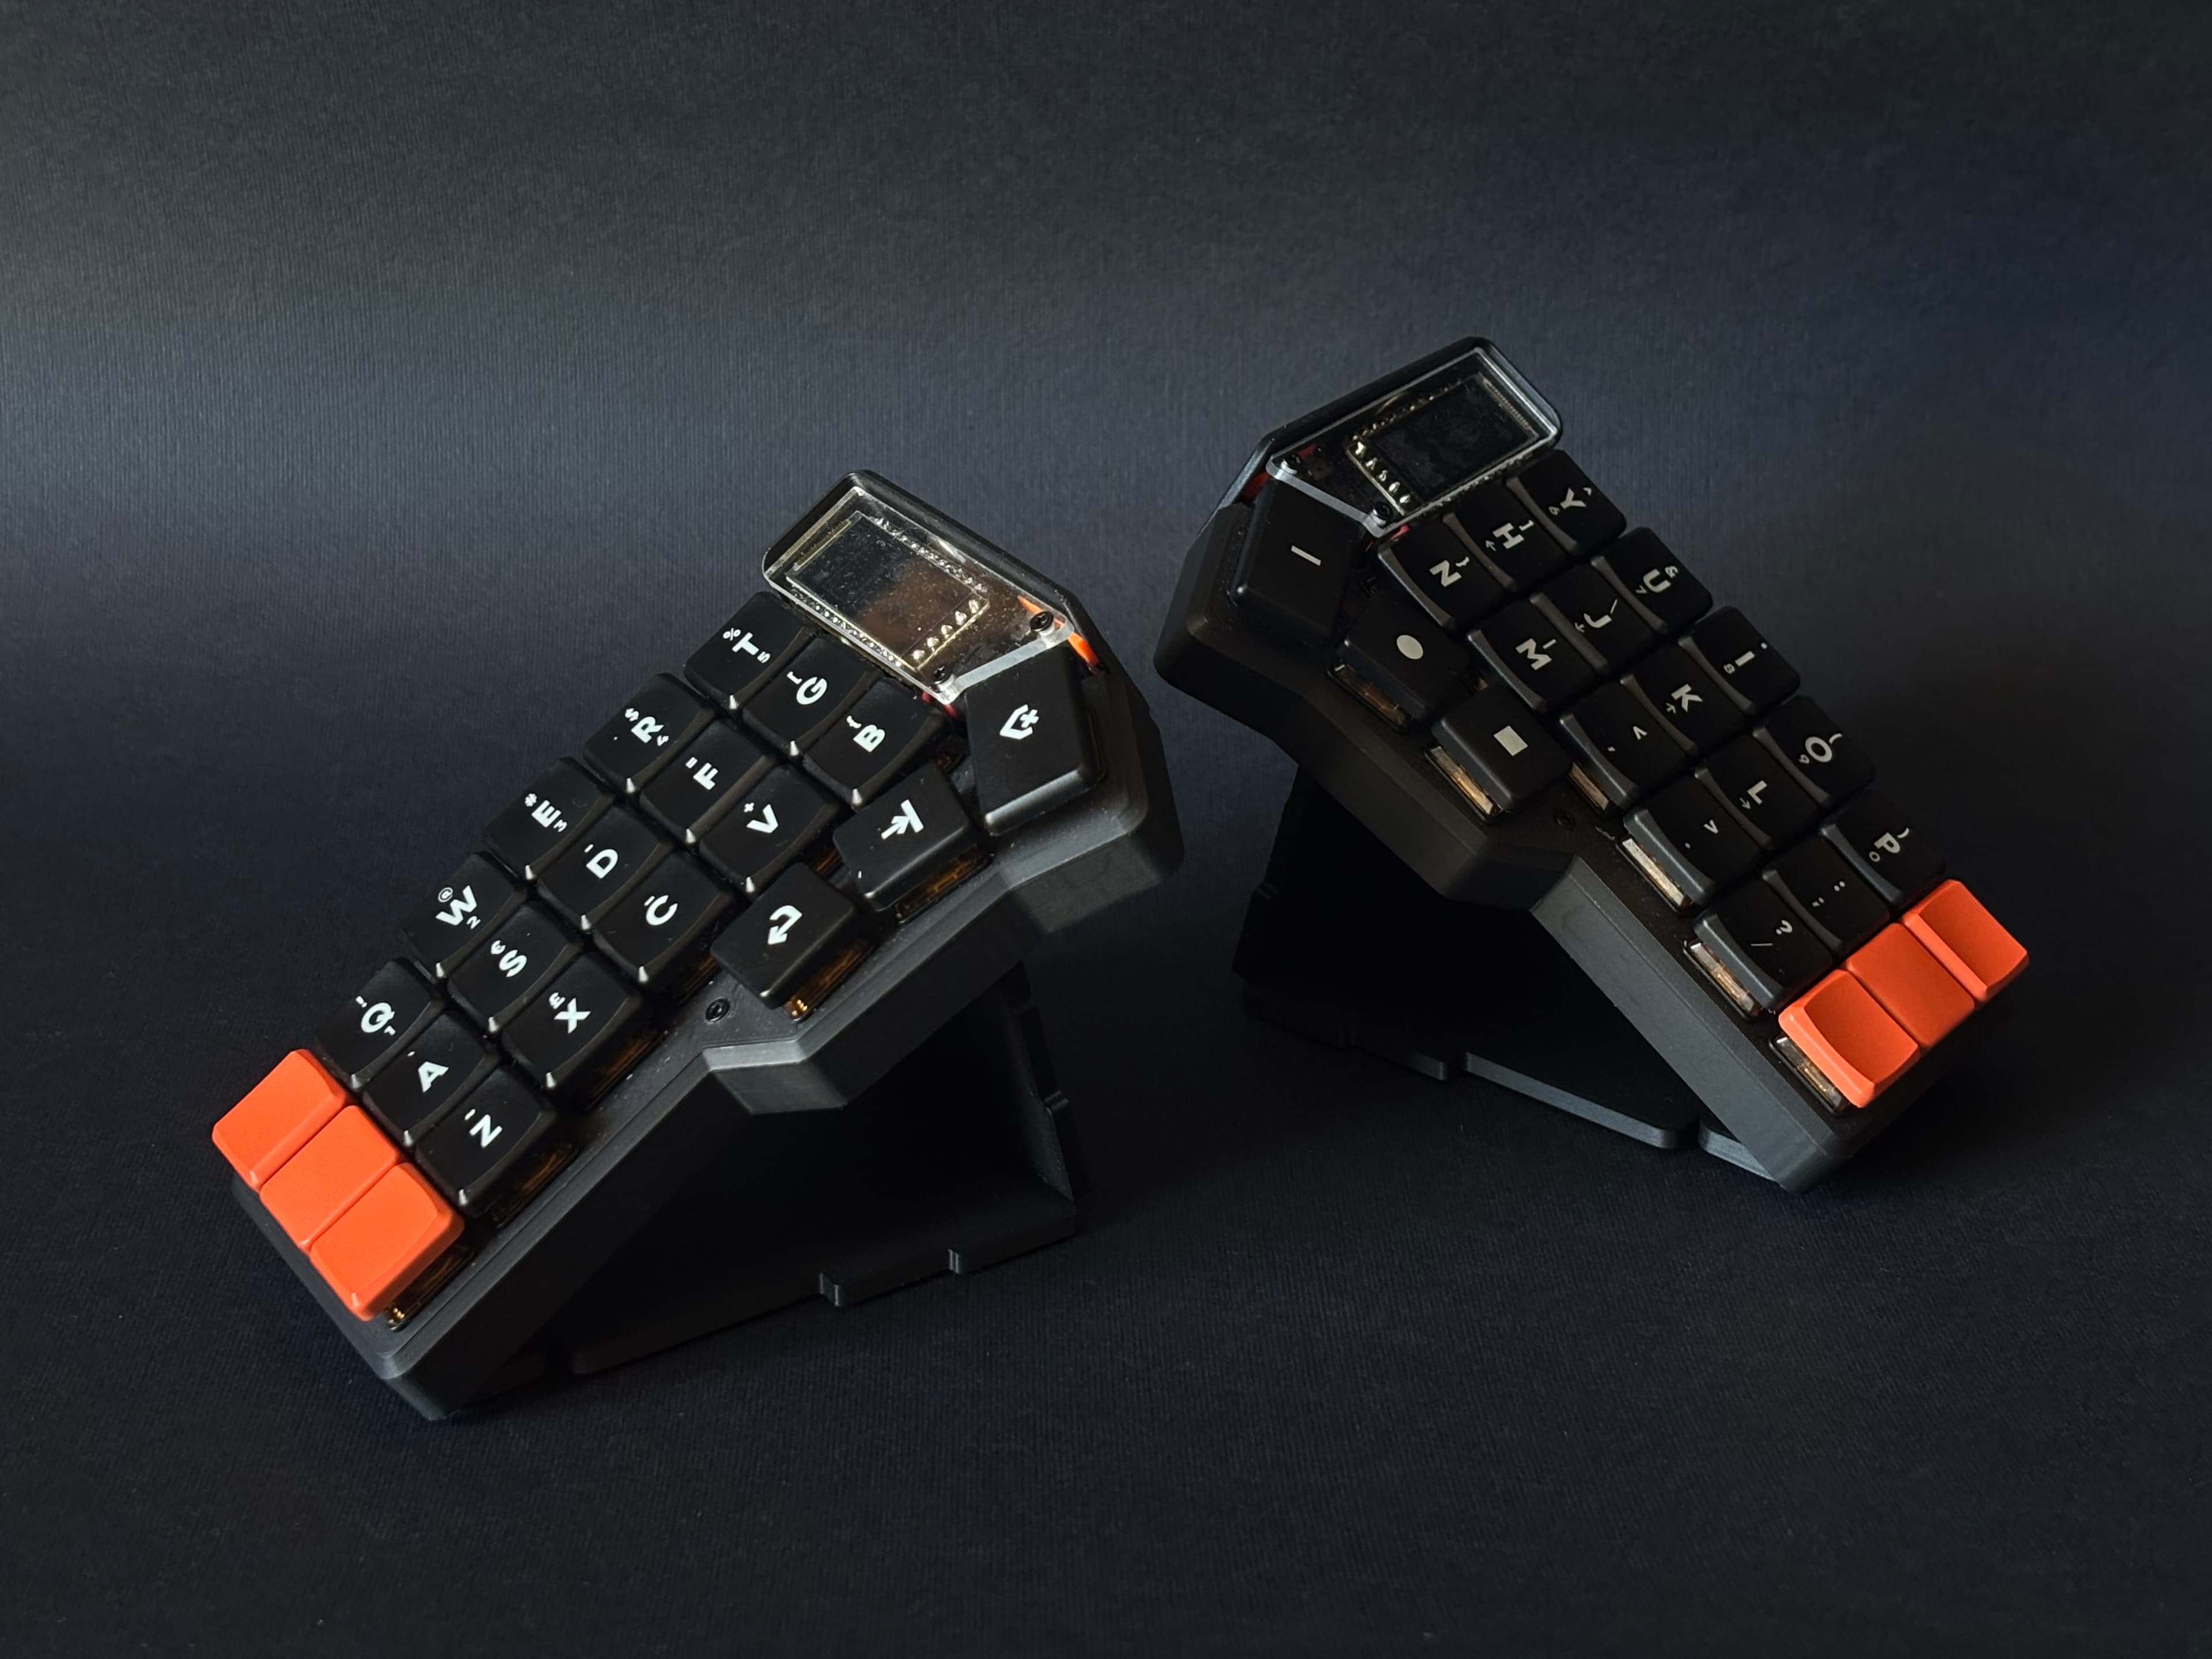
If you wanna know more about how I found out about the Corne keyboard and how I switched to more ergonomic input devices, you should definitively check this other blog post I wrote.
The reason why I wanted to do this from scratch is because there is nothing like it at the moment. Or, at least, I’m not aware of it.
I bought the circuits and chips from the Typeractive website (which is not sponsoring this post).
So, this is how I did that.
Iteration 1: The Shell
By “shell” I mean the part of the keyboard that is protecting the chip, batteries and circuit board.
I had few limitations in mind while designing the shell:
- it should look like one of those cool “unibody” designs with no clear assembly seams in sight;
- it must be easy to assemble;
- no wasted plastic while 3D printing.
I came up with a two-pieces design, that could be easily assembled.
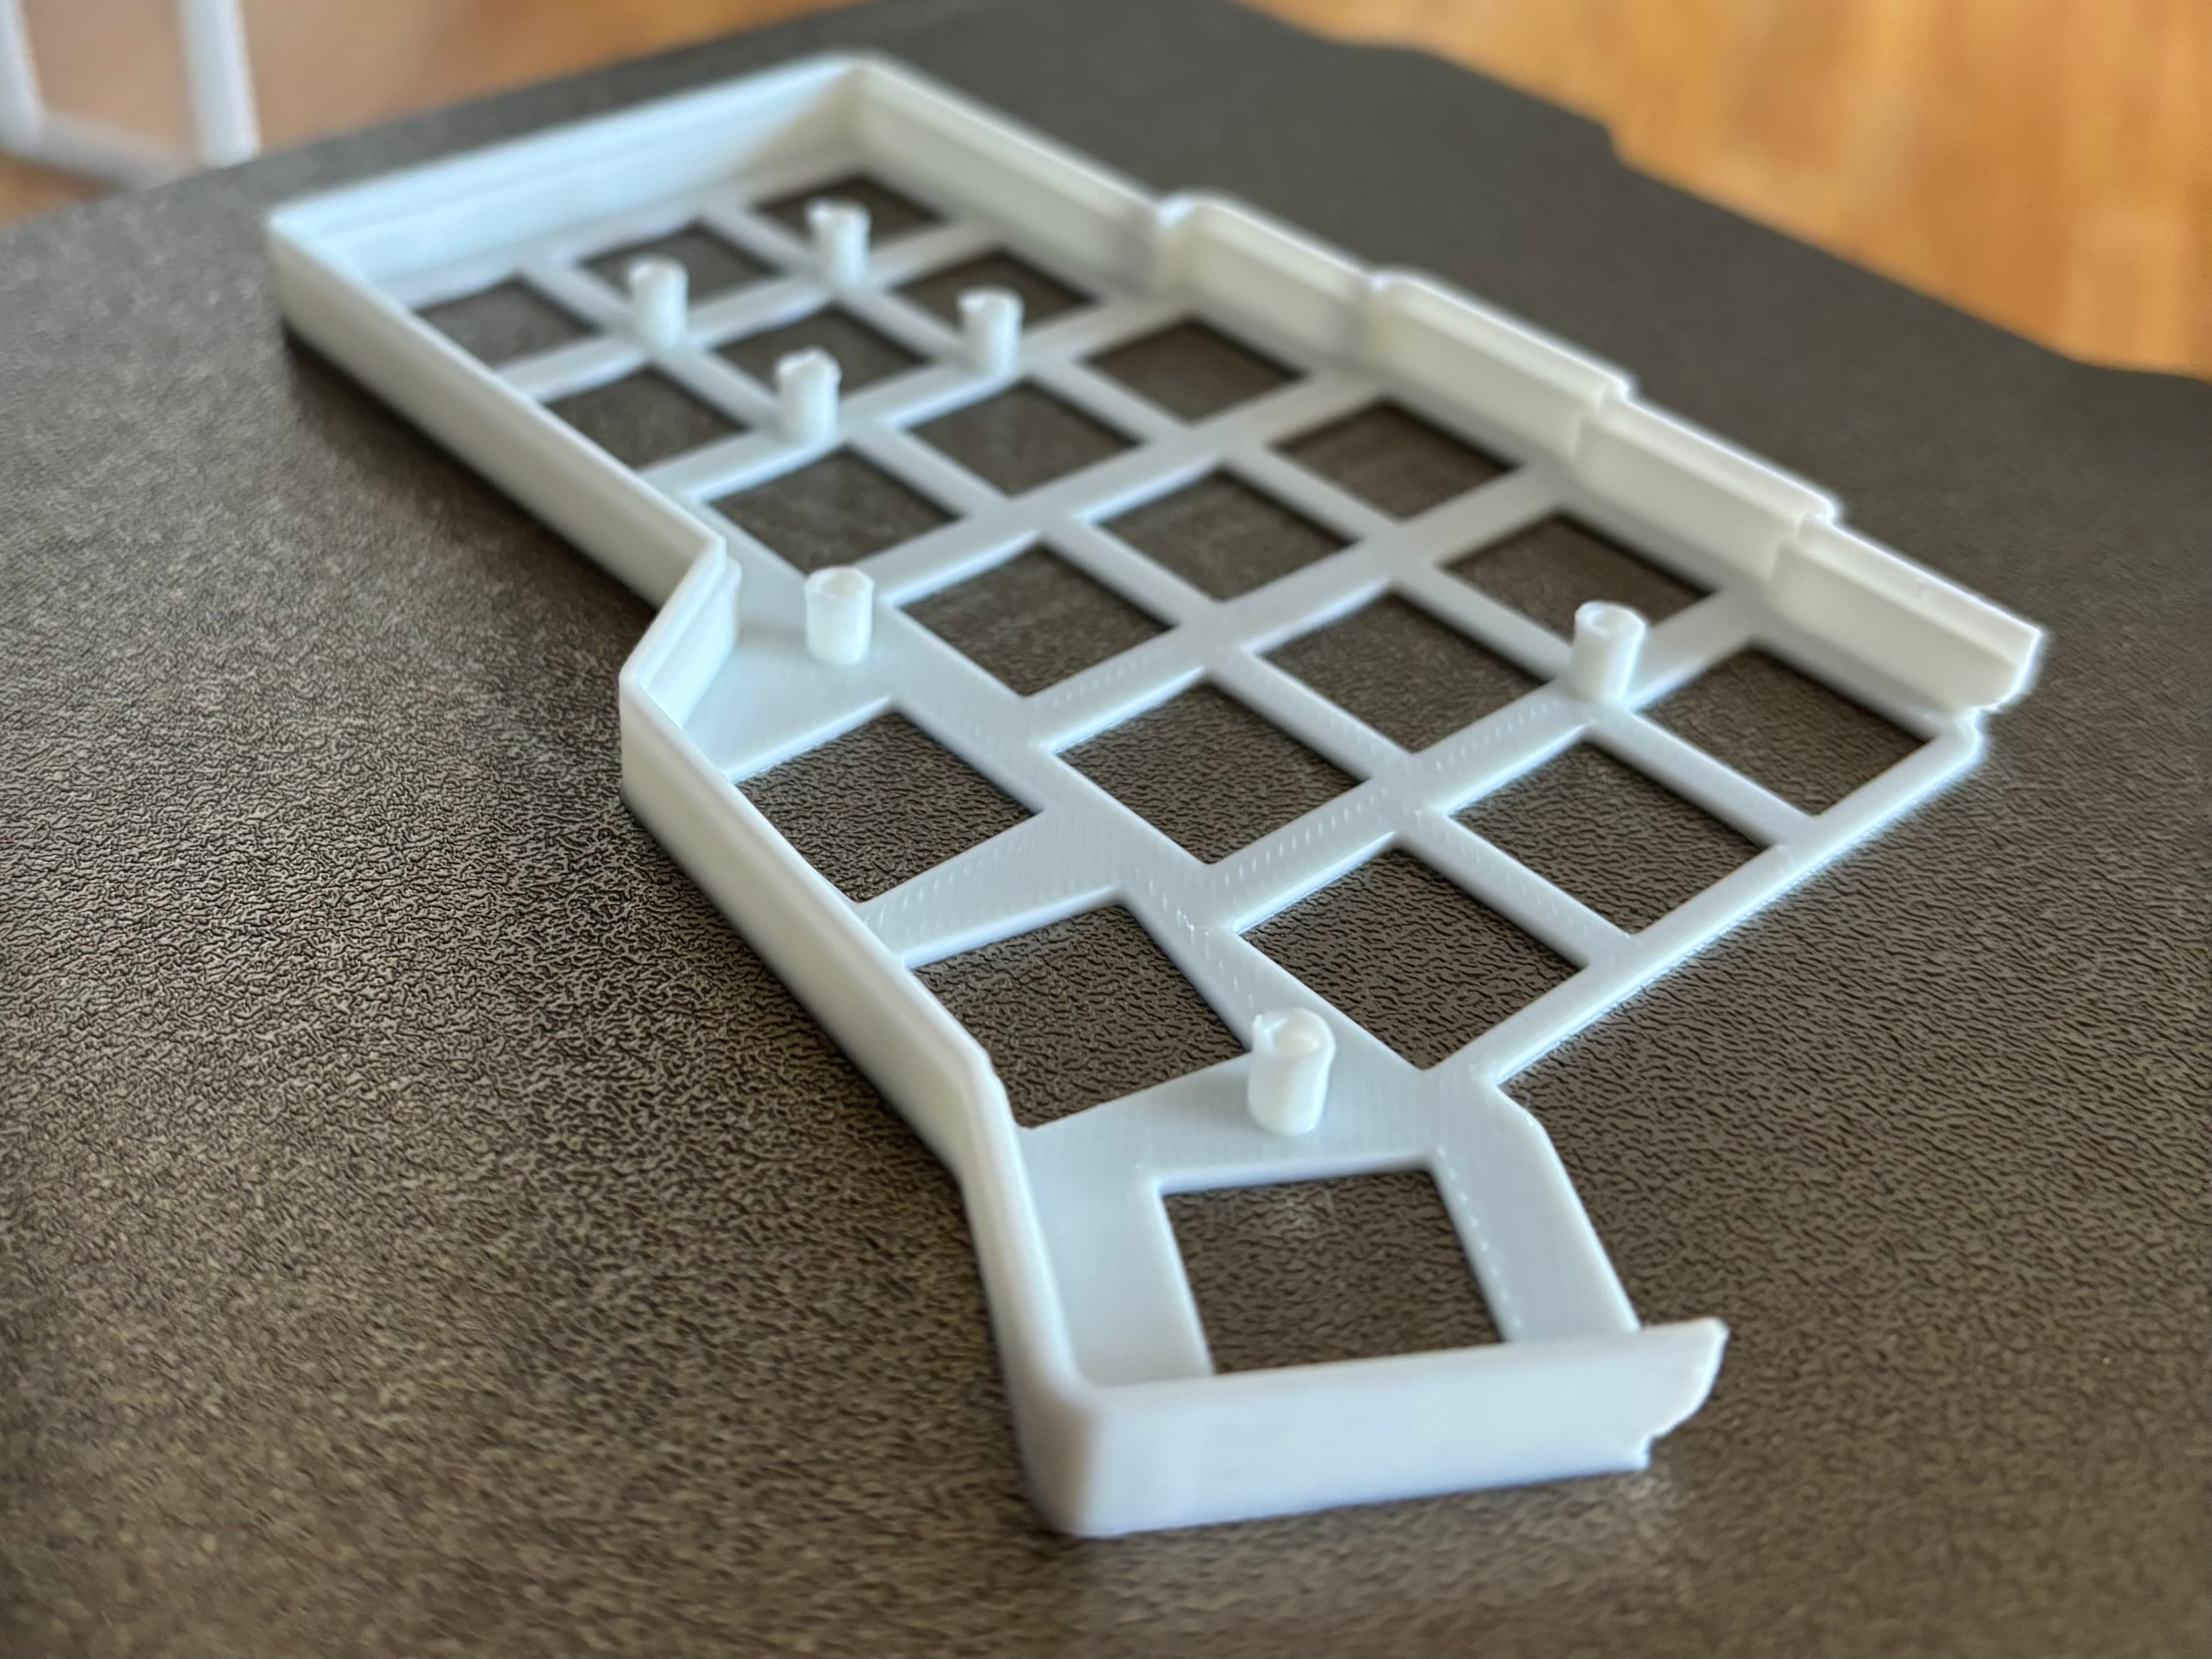
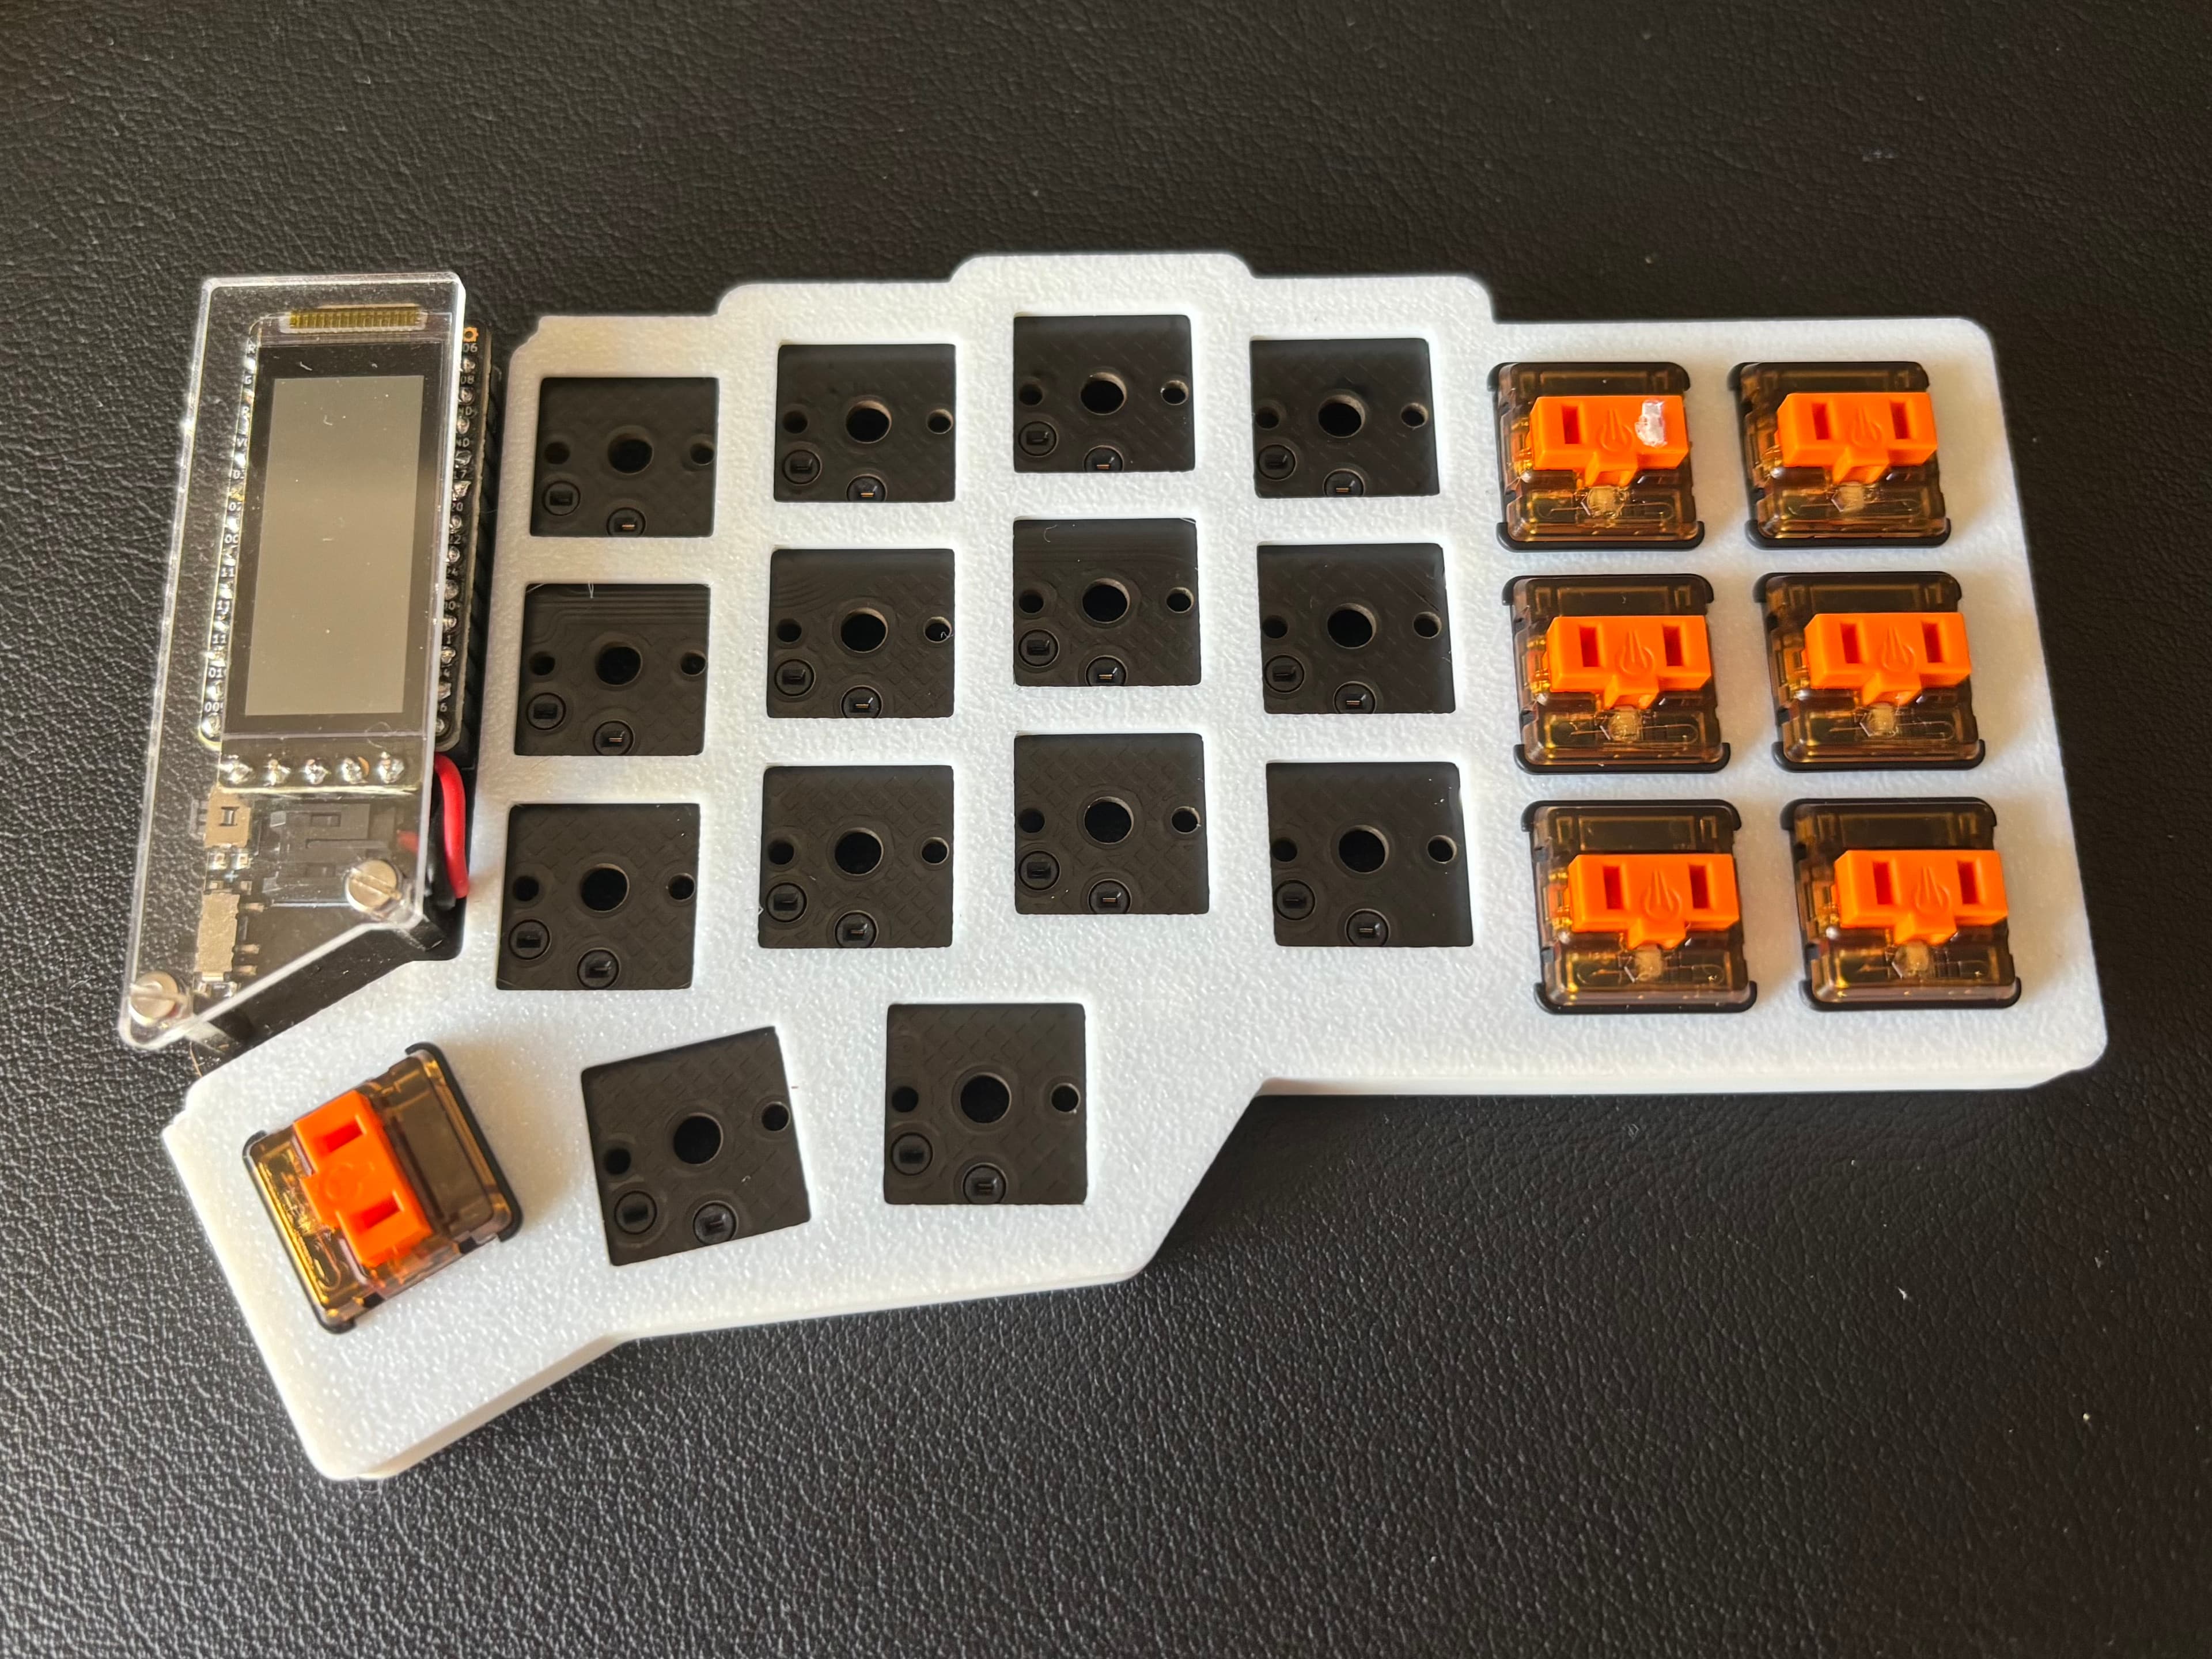
I also designed it in a way no screws were needed during assembling. I achieved that by using magnets.
But then in the second iteration, I used screws again since small magnets were not super strong.
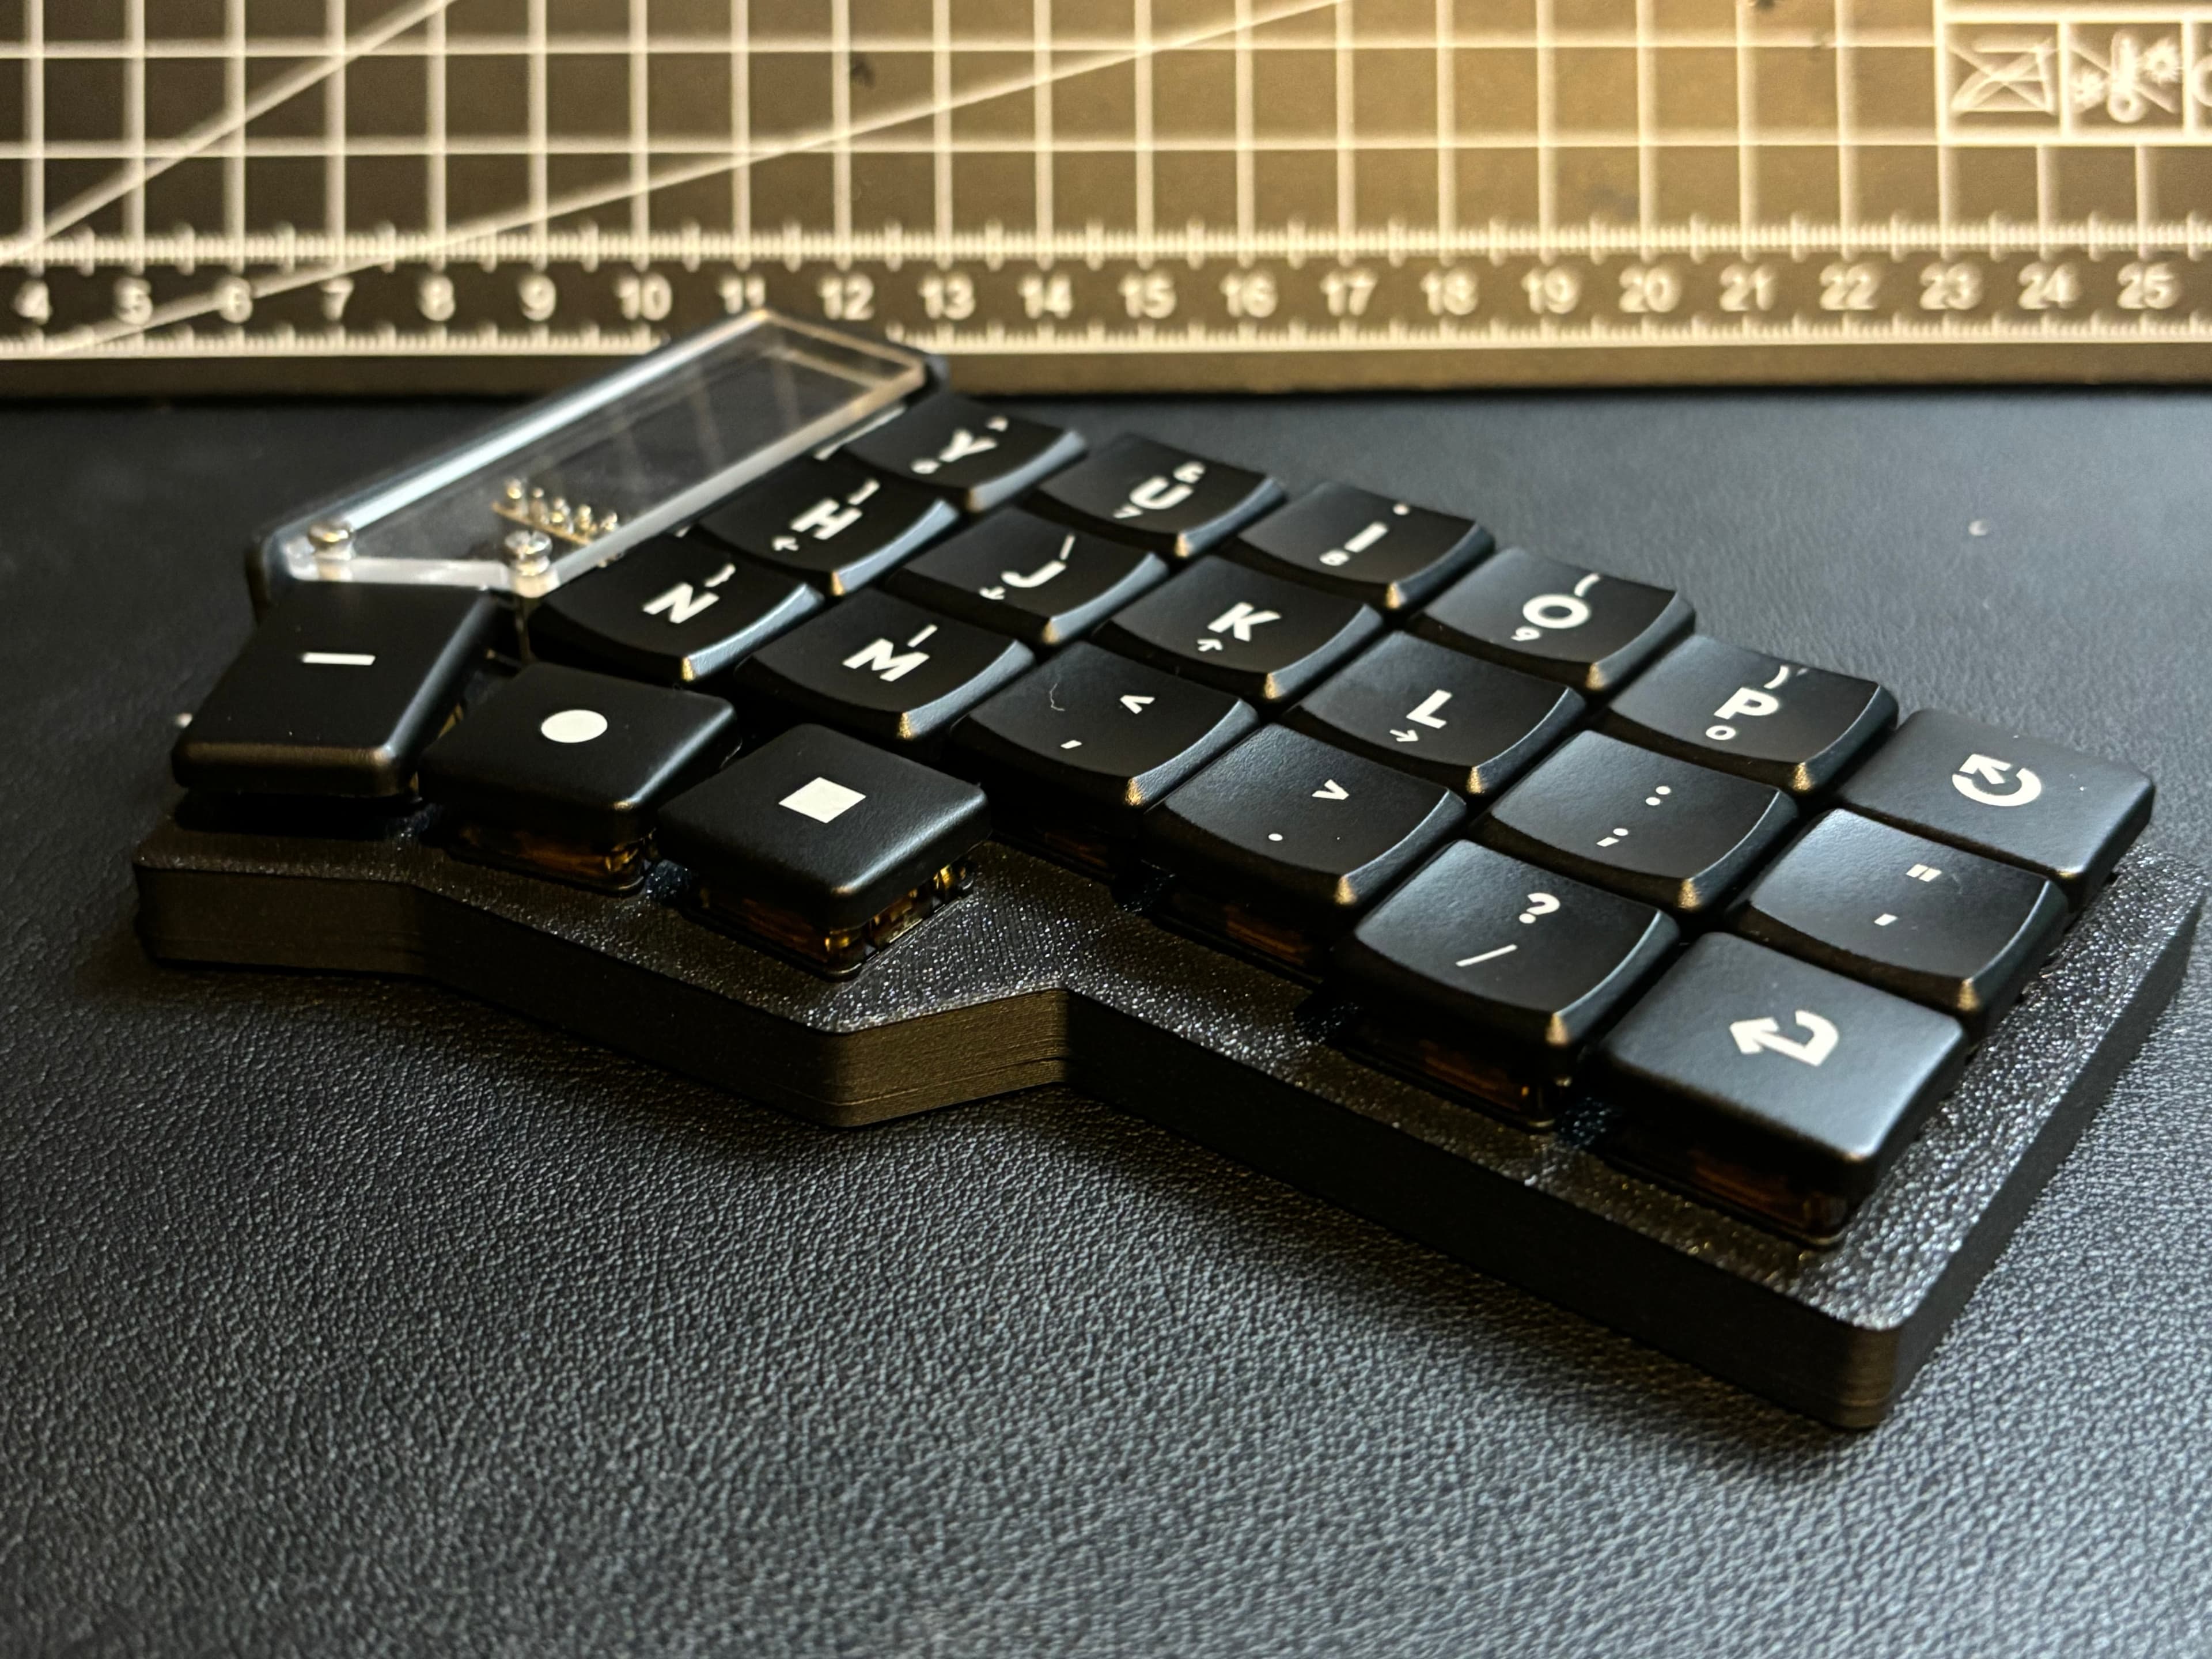
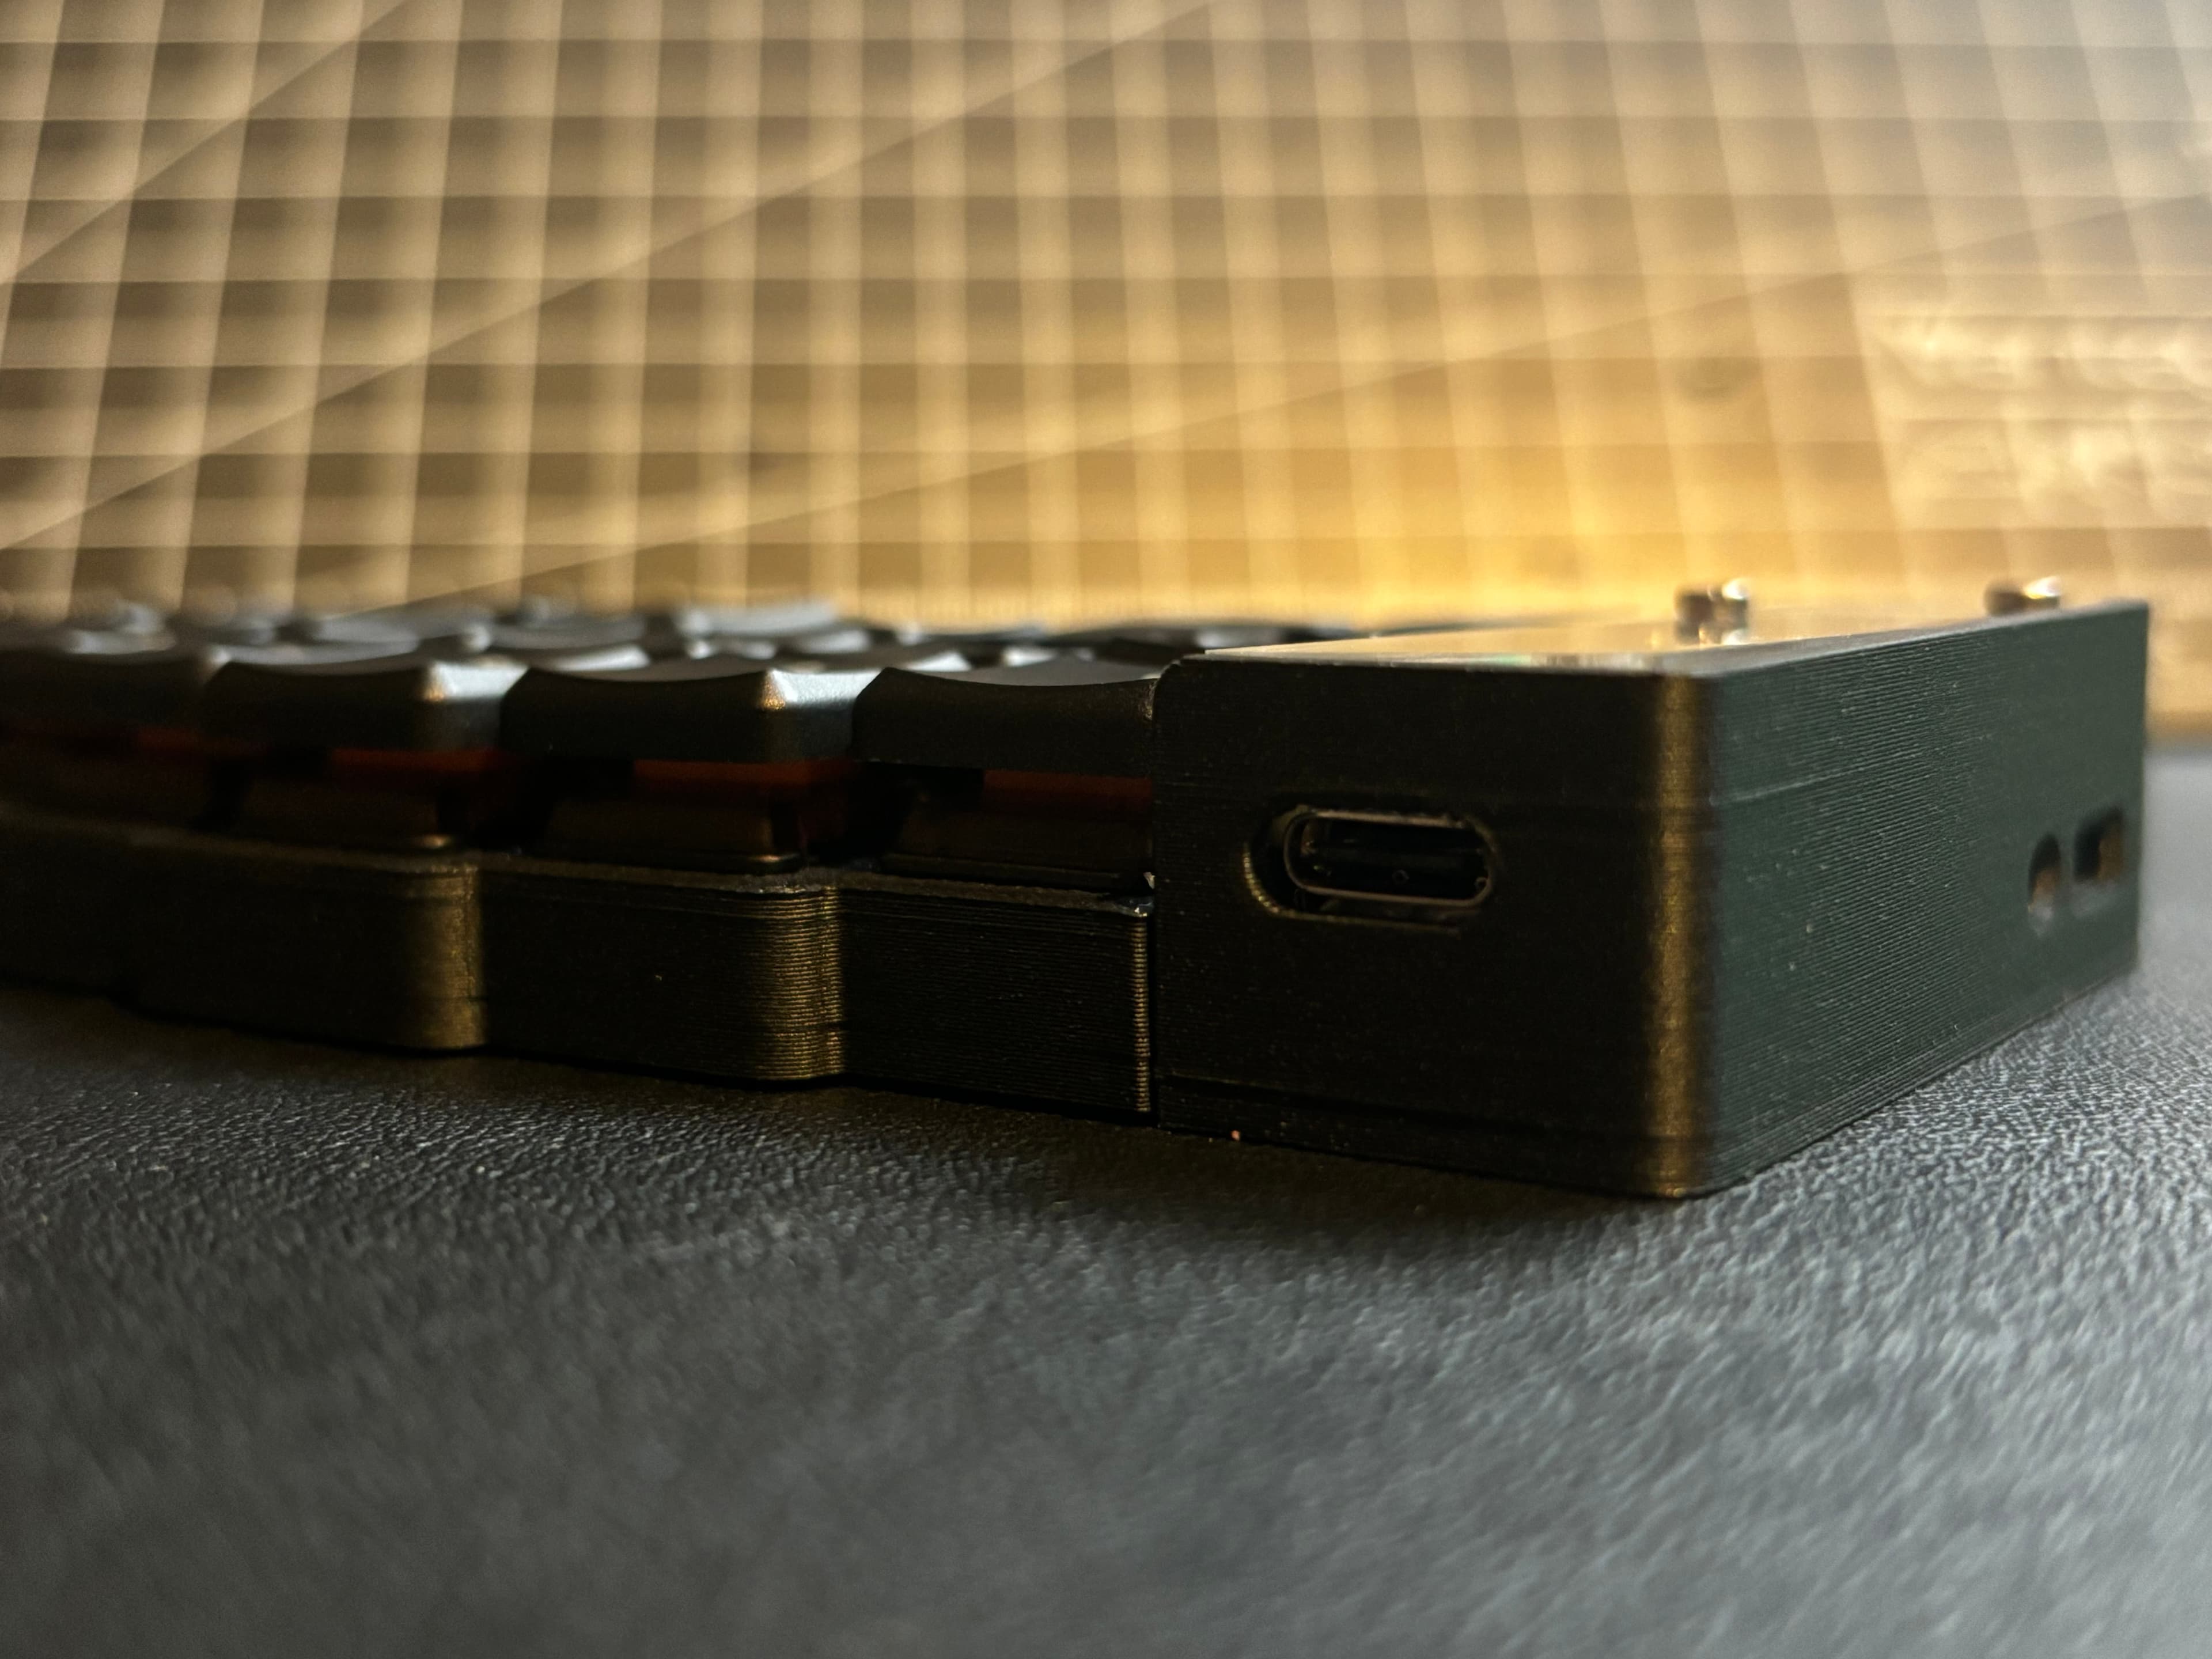
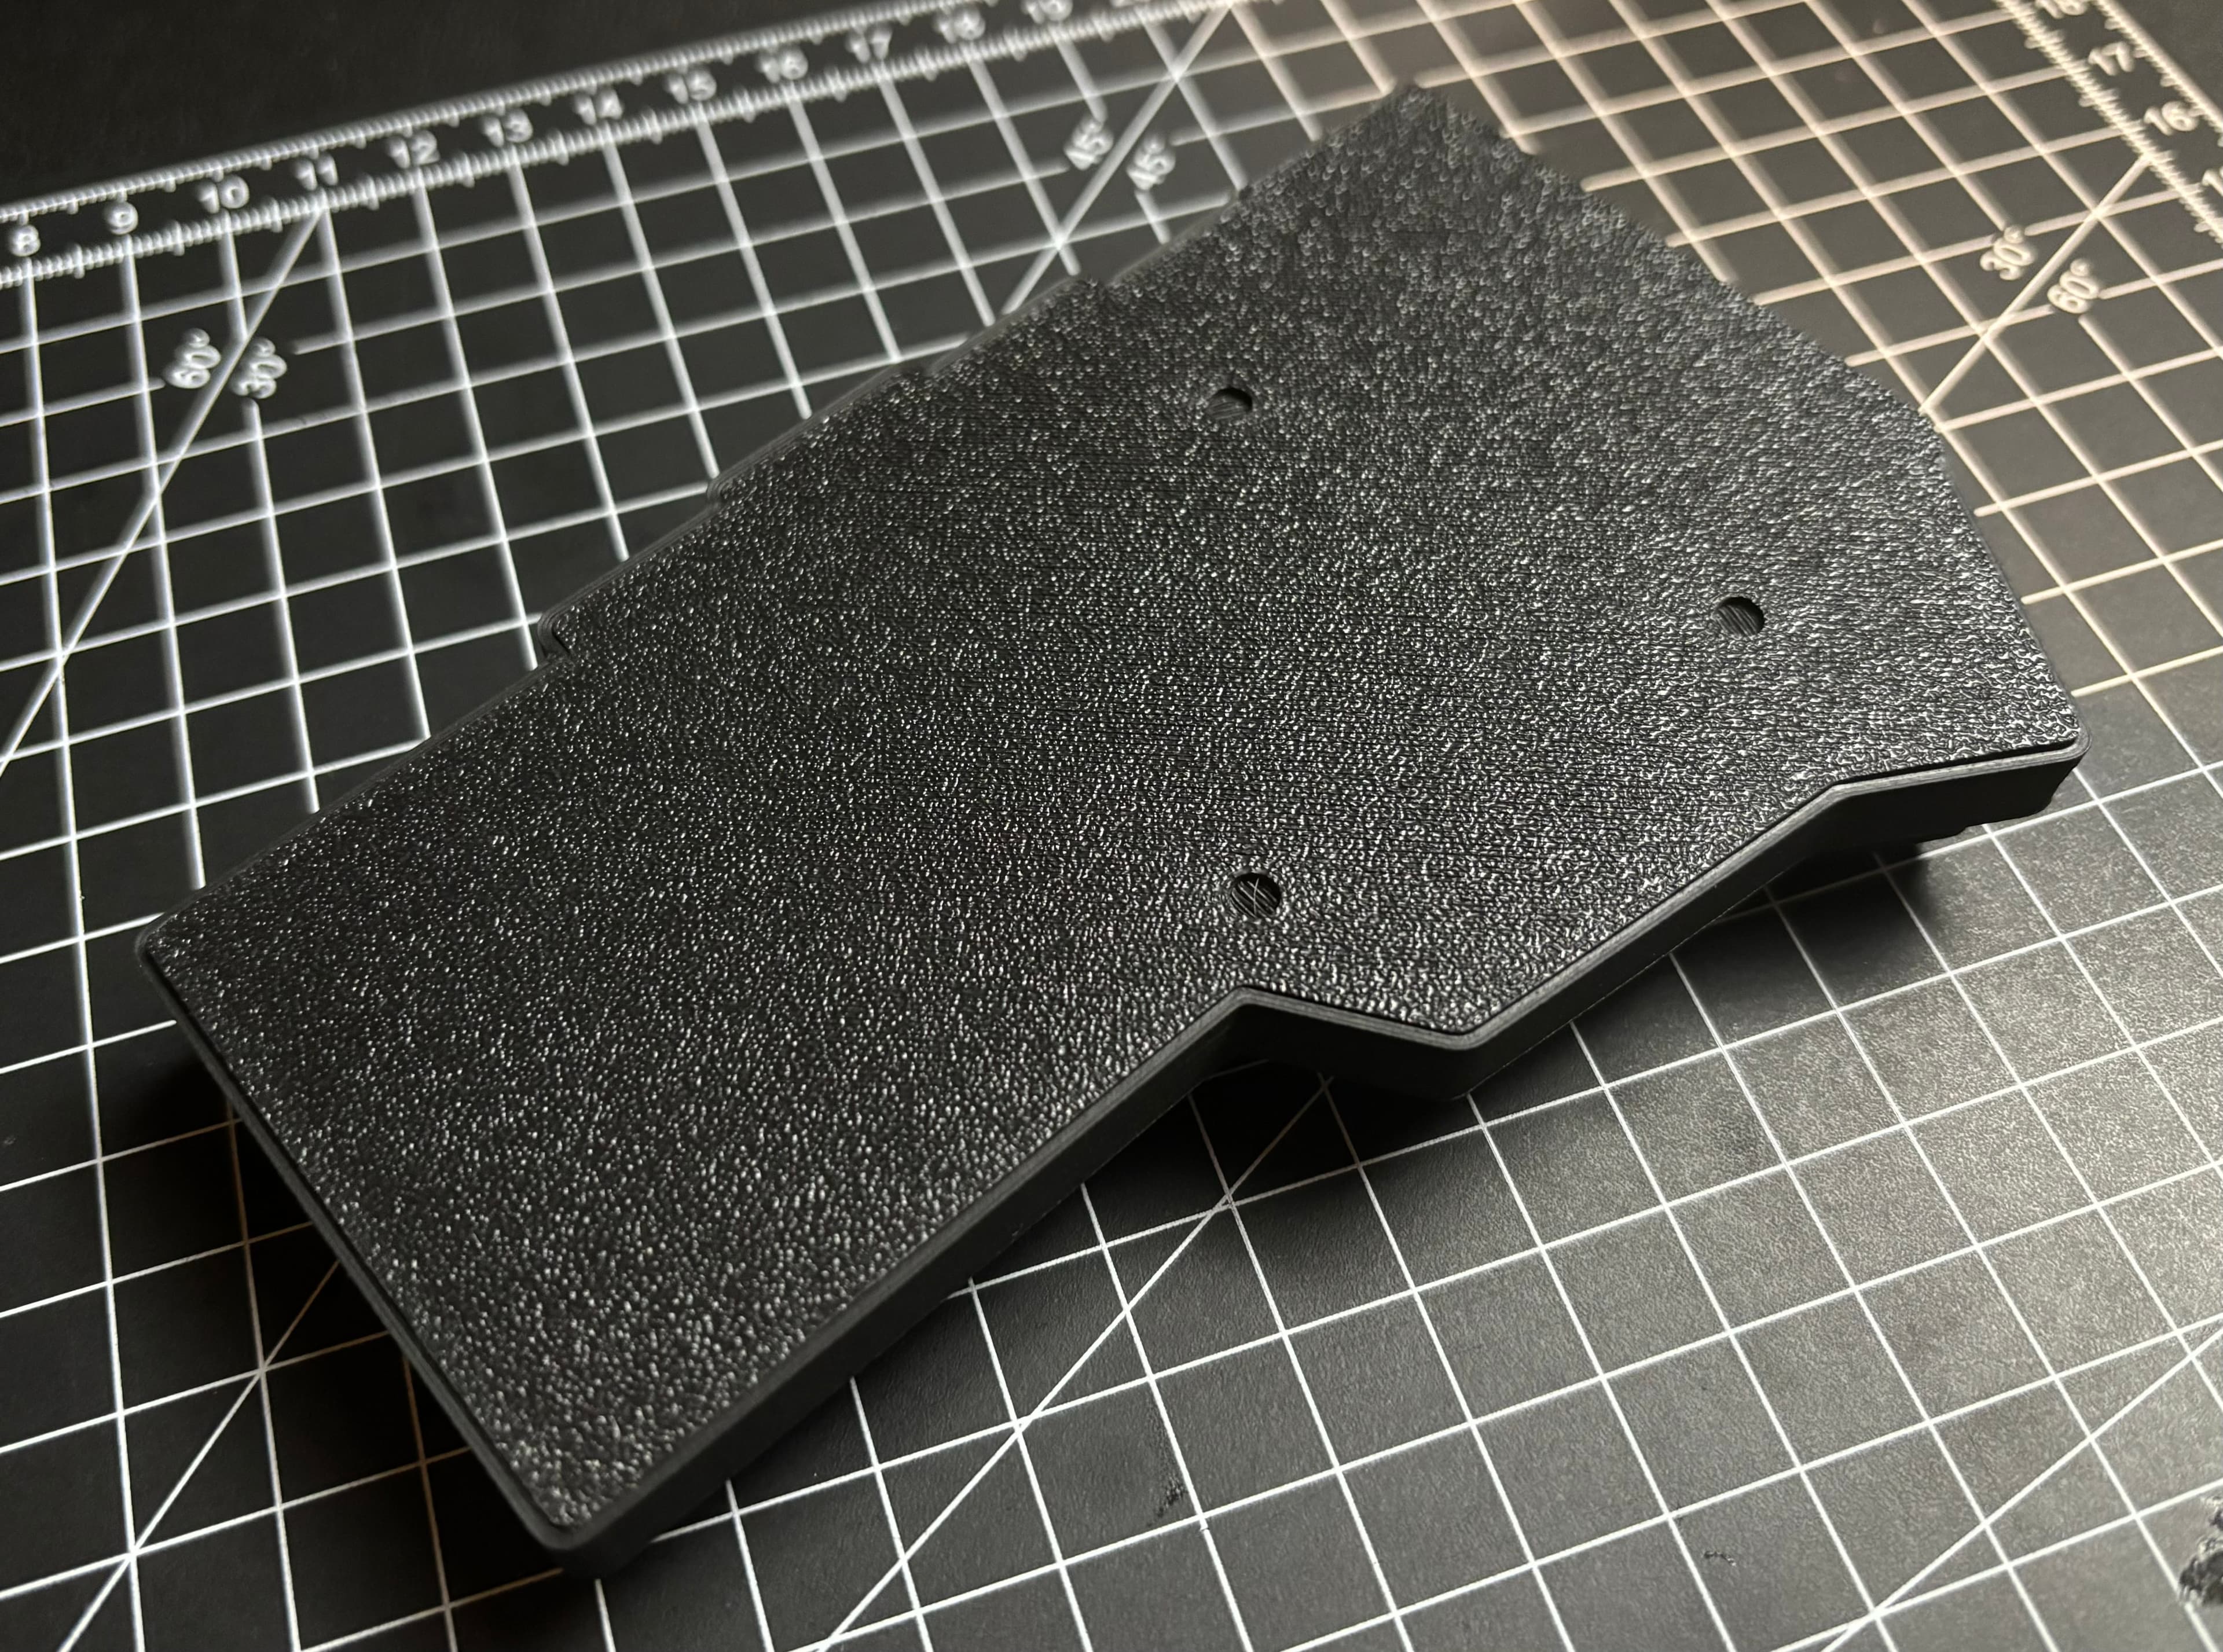
Seams are at the bottom, and it just looks they are not there at all!
The magnets at the back of the keyboard also allowed the two pieces of the keyboard to snap nicely together when stowed away.
Iteration 2: New Shell with the Case
During two years of continuous use, I realized that the keyboard was great, but it was really painful to carry it around in a bag or backpack.
Every time I was tossing it to a bag, I was scared that key caps might come off and break.
Another feature I wanted to add from the beginning was a tenting mechanism to have a more ergonomic writing experience.
I started researching what would be a great tenting mechanism, but everything I found online was really bulky or too fragile.
I wanted something slim, of course, but strong and reliable.
And, most of all, it should feel part of the design language of the product. I didn’t just want a third-party tenting feet to install on the bottom of the keyboard.
One day, while using my iPad, I realized that the magnetic case design is quite clever. While folded, the iPad was actually tented!
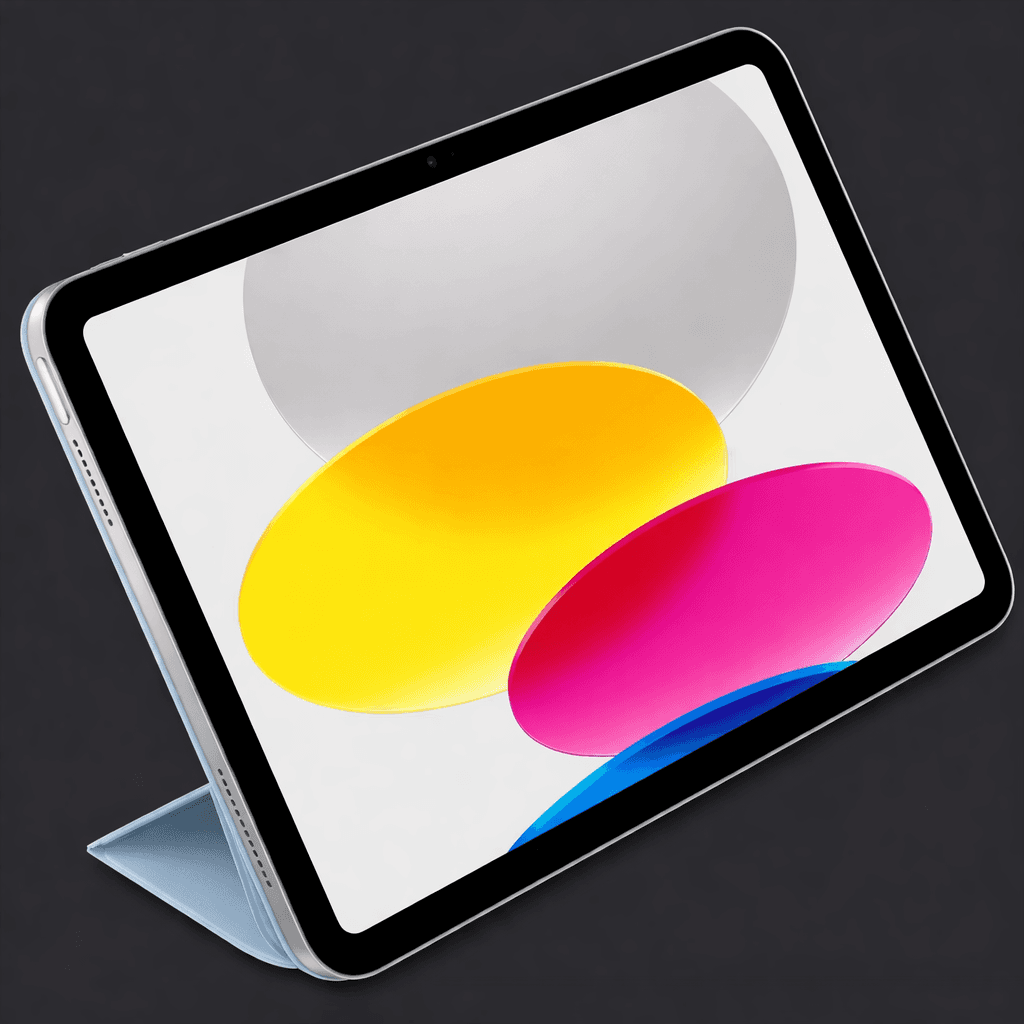
I then had the brilliant idea of applying that folded triangle shape design for the keyboard case that will be both the tenting mechanism and protective case.
I started prototyping.
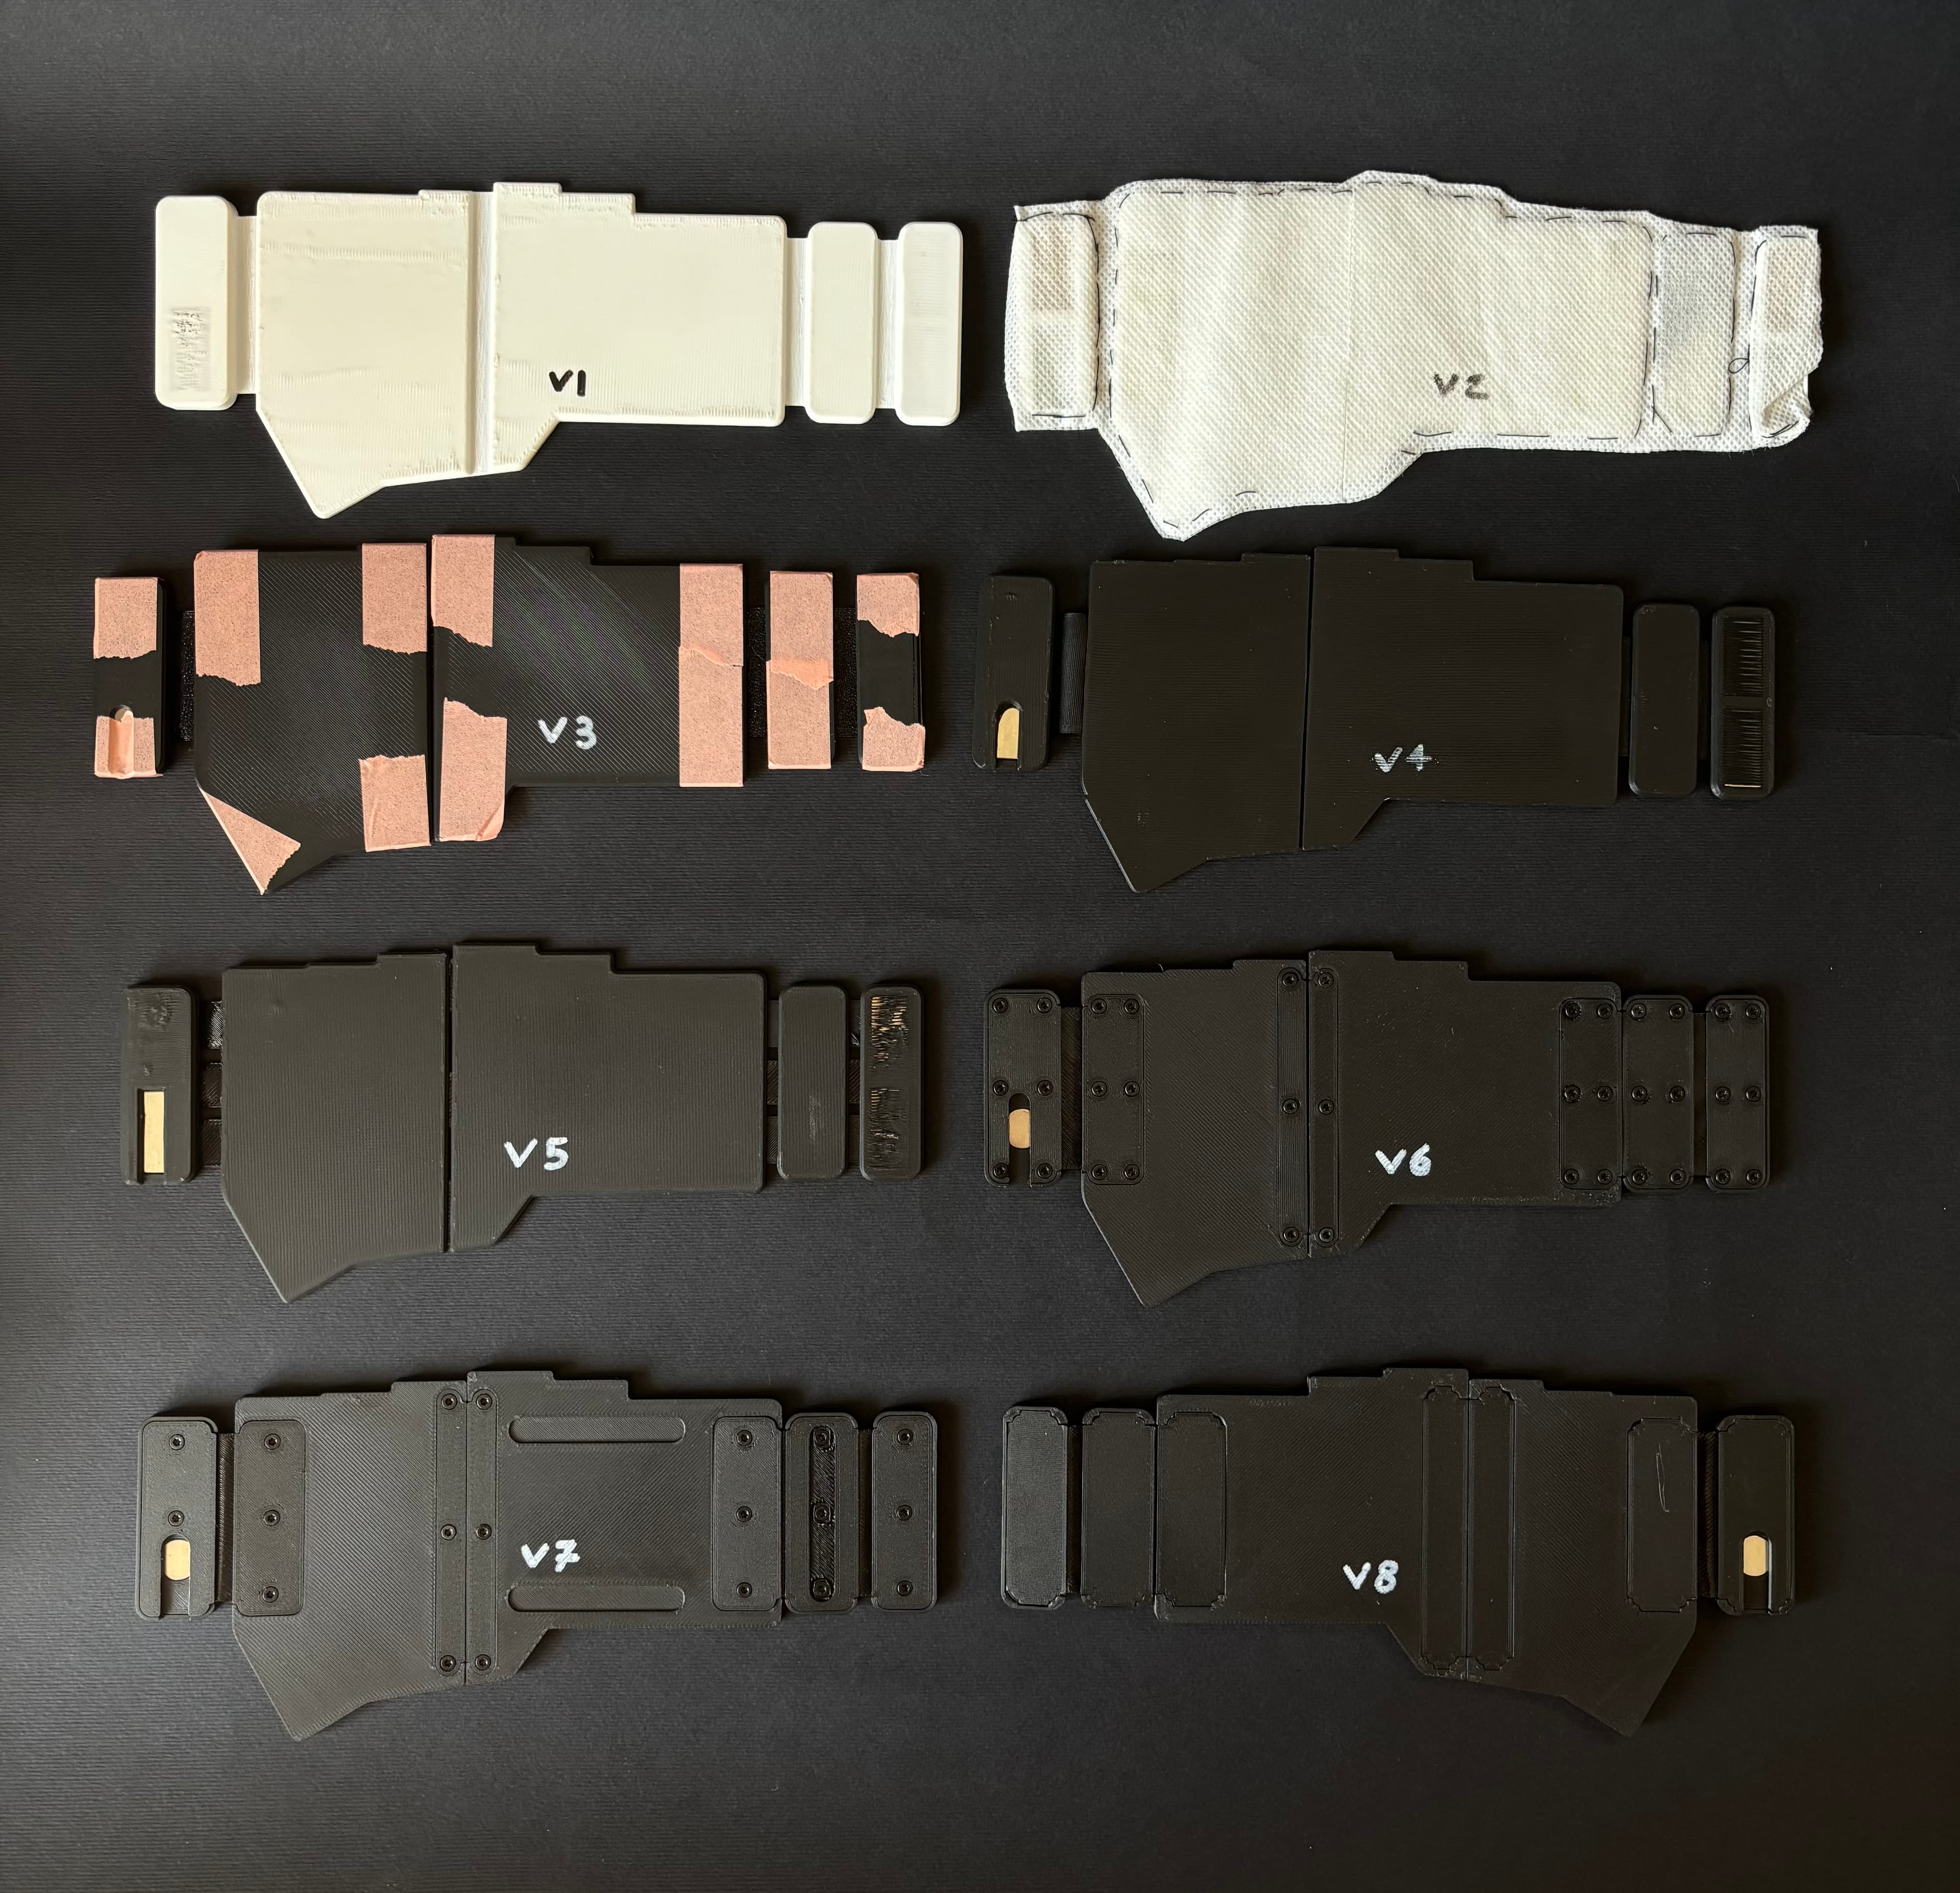
The fist prototype was a PLA only case.
I stopped the 3D printer mid-print to add magnets inside the case itself.
The case was really sturdy and stable. But the flexible parts that needed to be bent were cracking, since PLA is not that great at flexing without breaking.
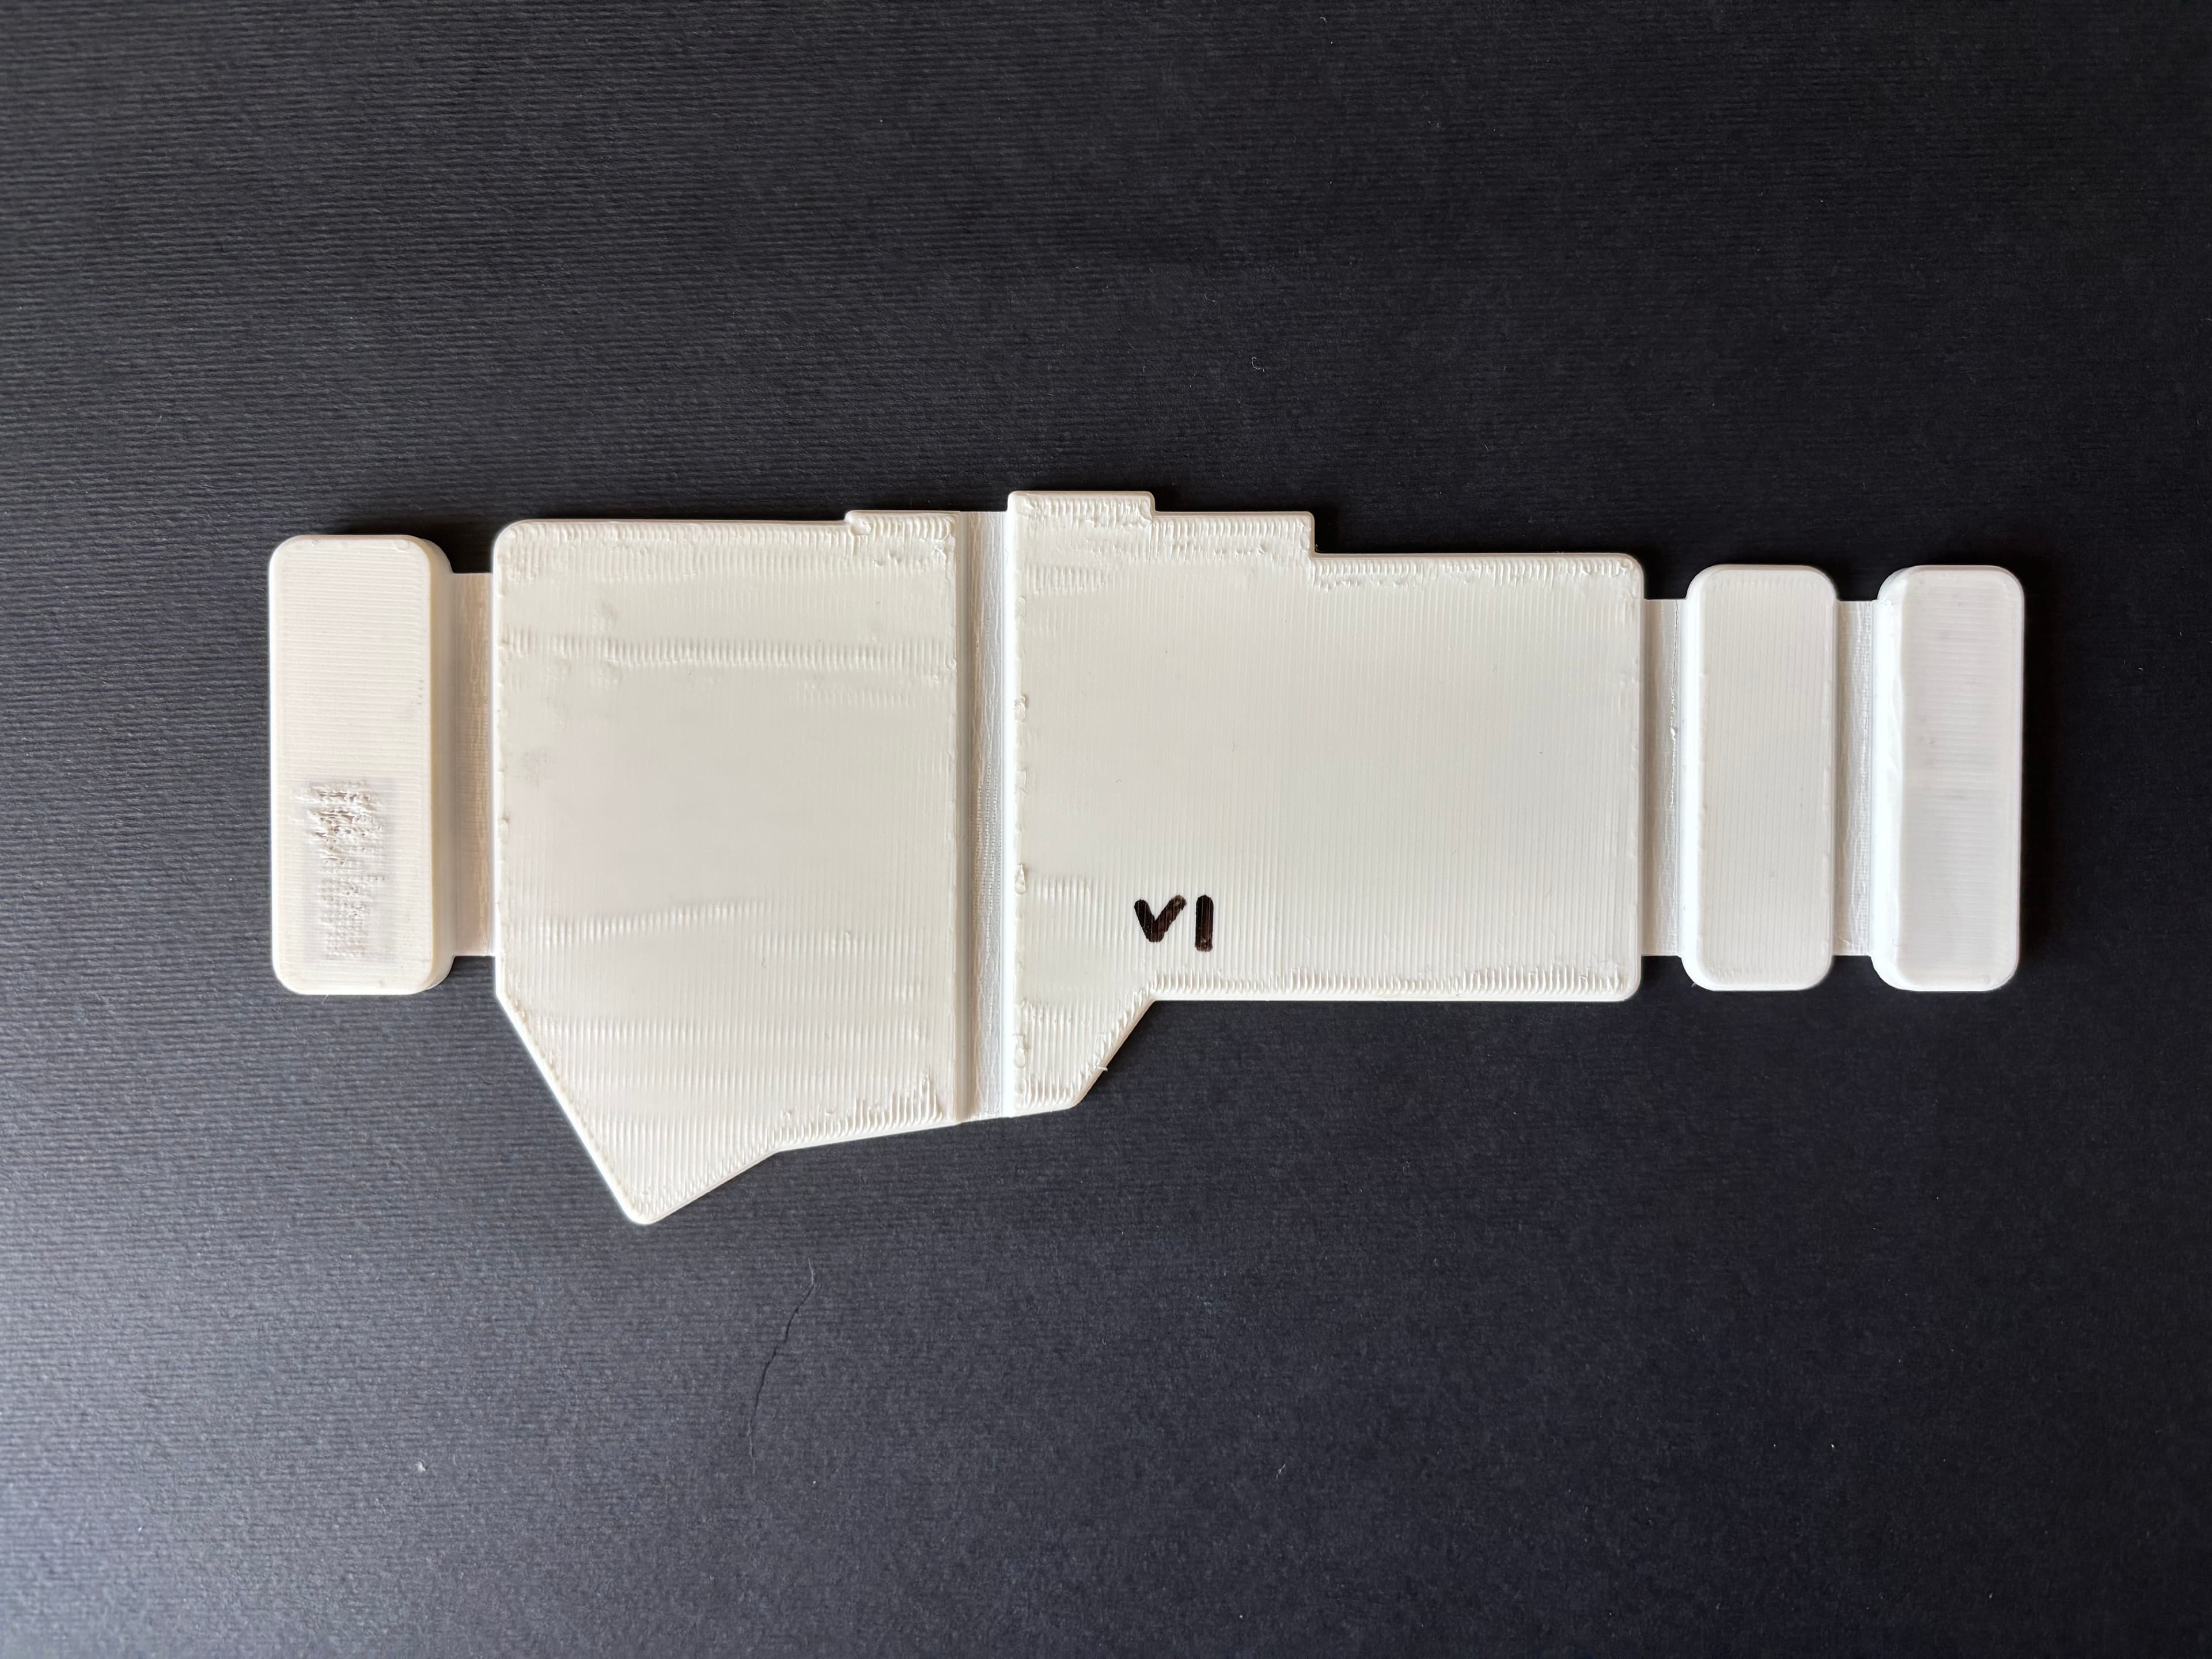
OK, how to fix the flexible joins breaking? Maybe print them with a flexible and more durable material!
So I started to embed TPU flexible connectors to the print.
But the problem with flexible parts is that the case was much less stable than the V1.
So I had to fine tune the distance of the parts to the millimeter to make sure that it was stable as the V1.
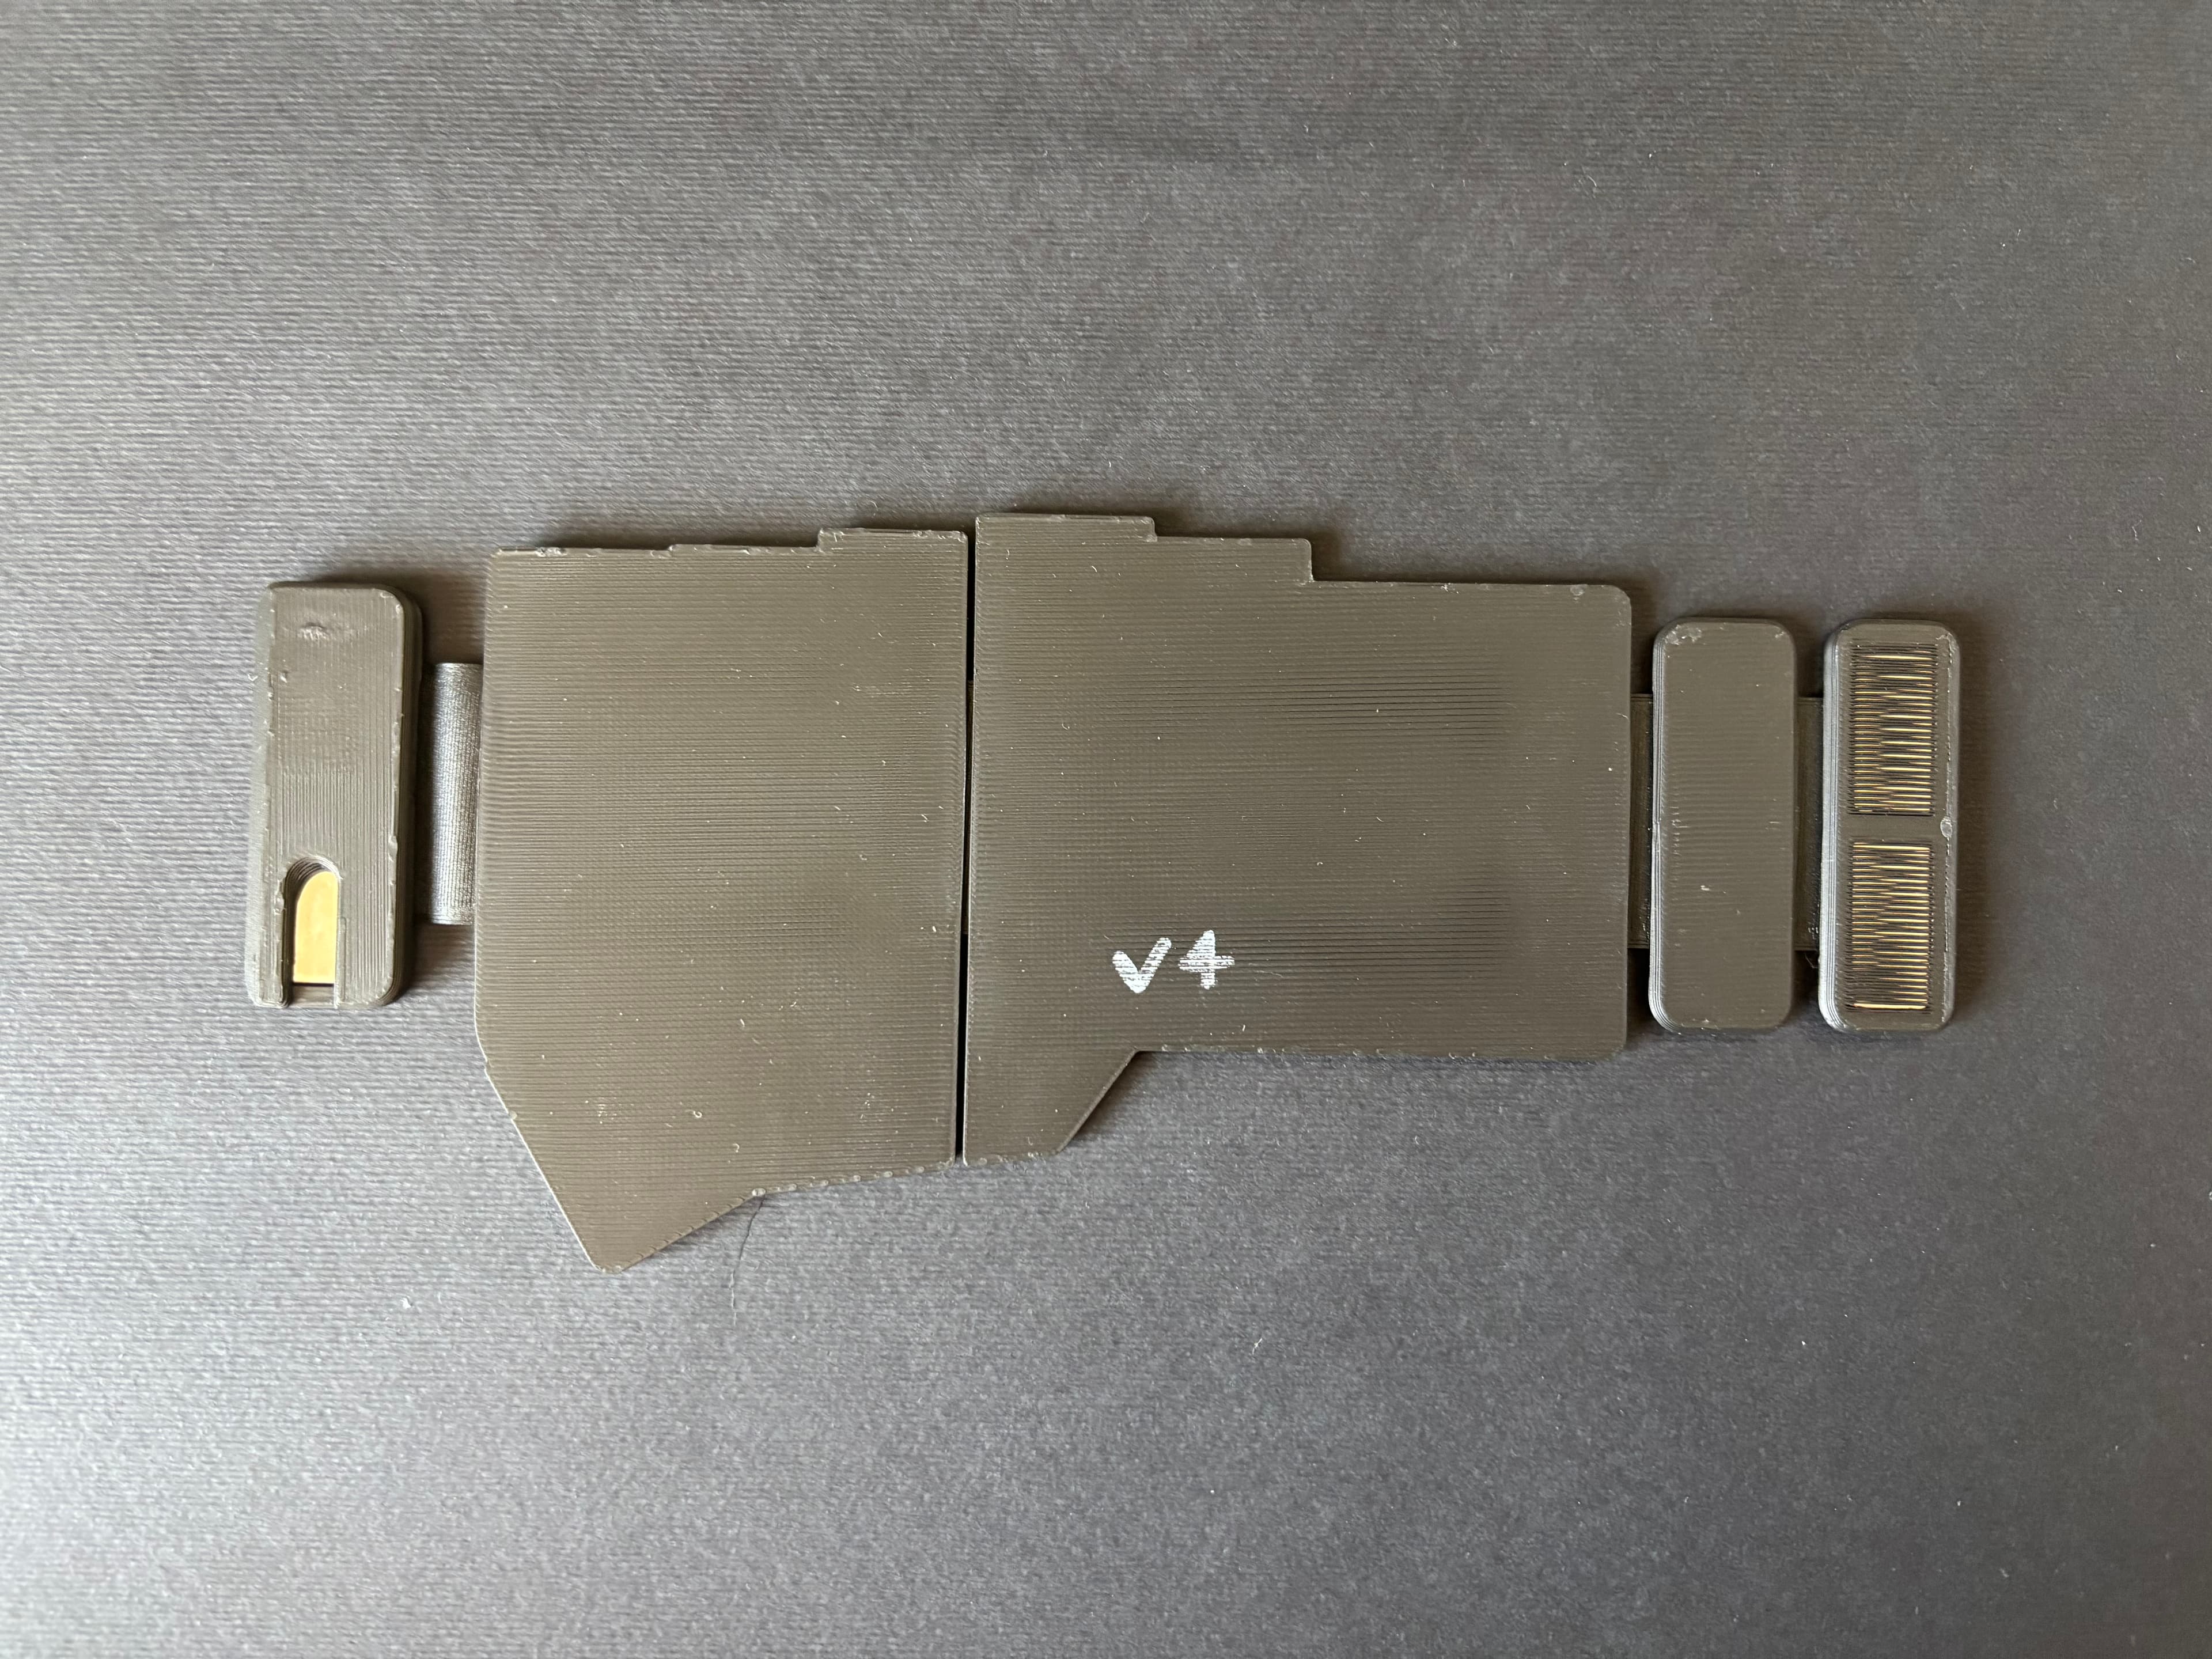
Stopping the print to add magnets it is a pretty easy job, but having a non-magnetic part to add mid print in a pretty thin design, is a different story.
For this reason, I started to think that maybe it would be better to assemble the parts post print.
This would have made the print also ready for a possibile mass production.
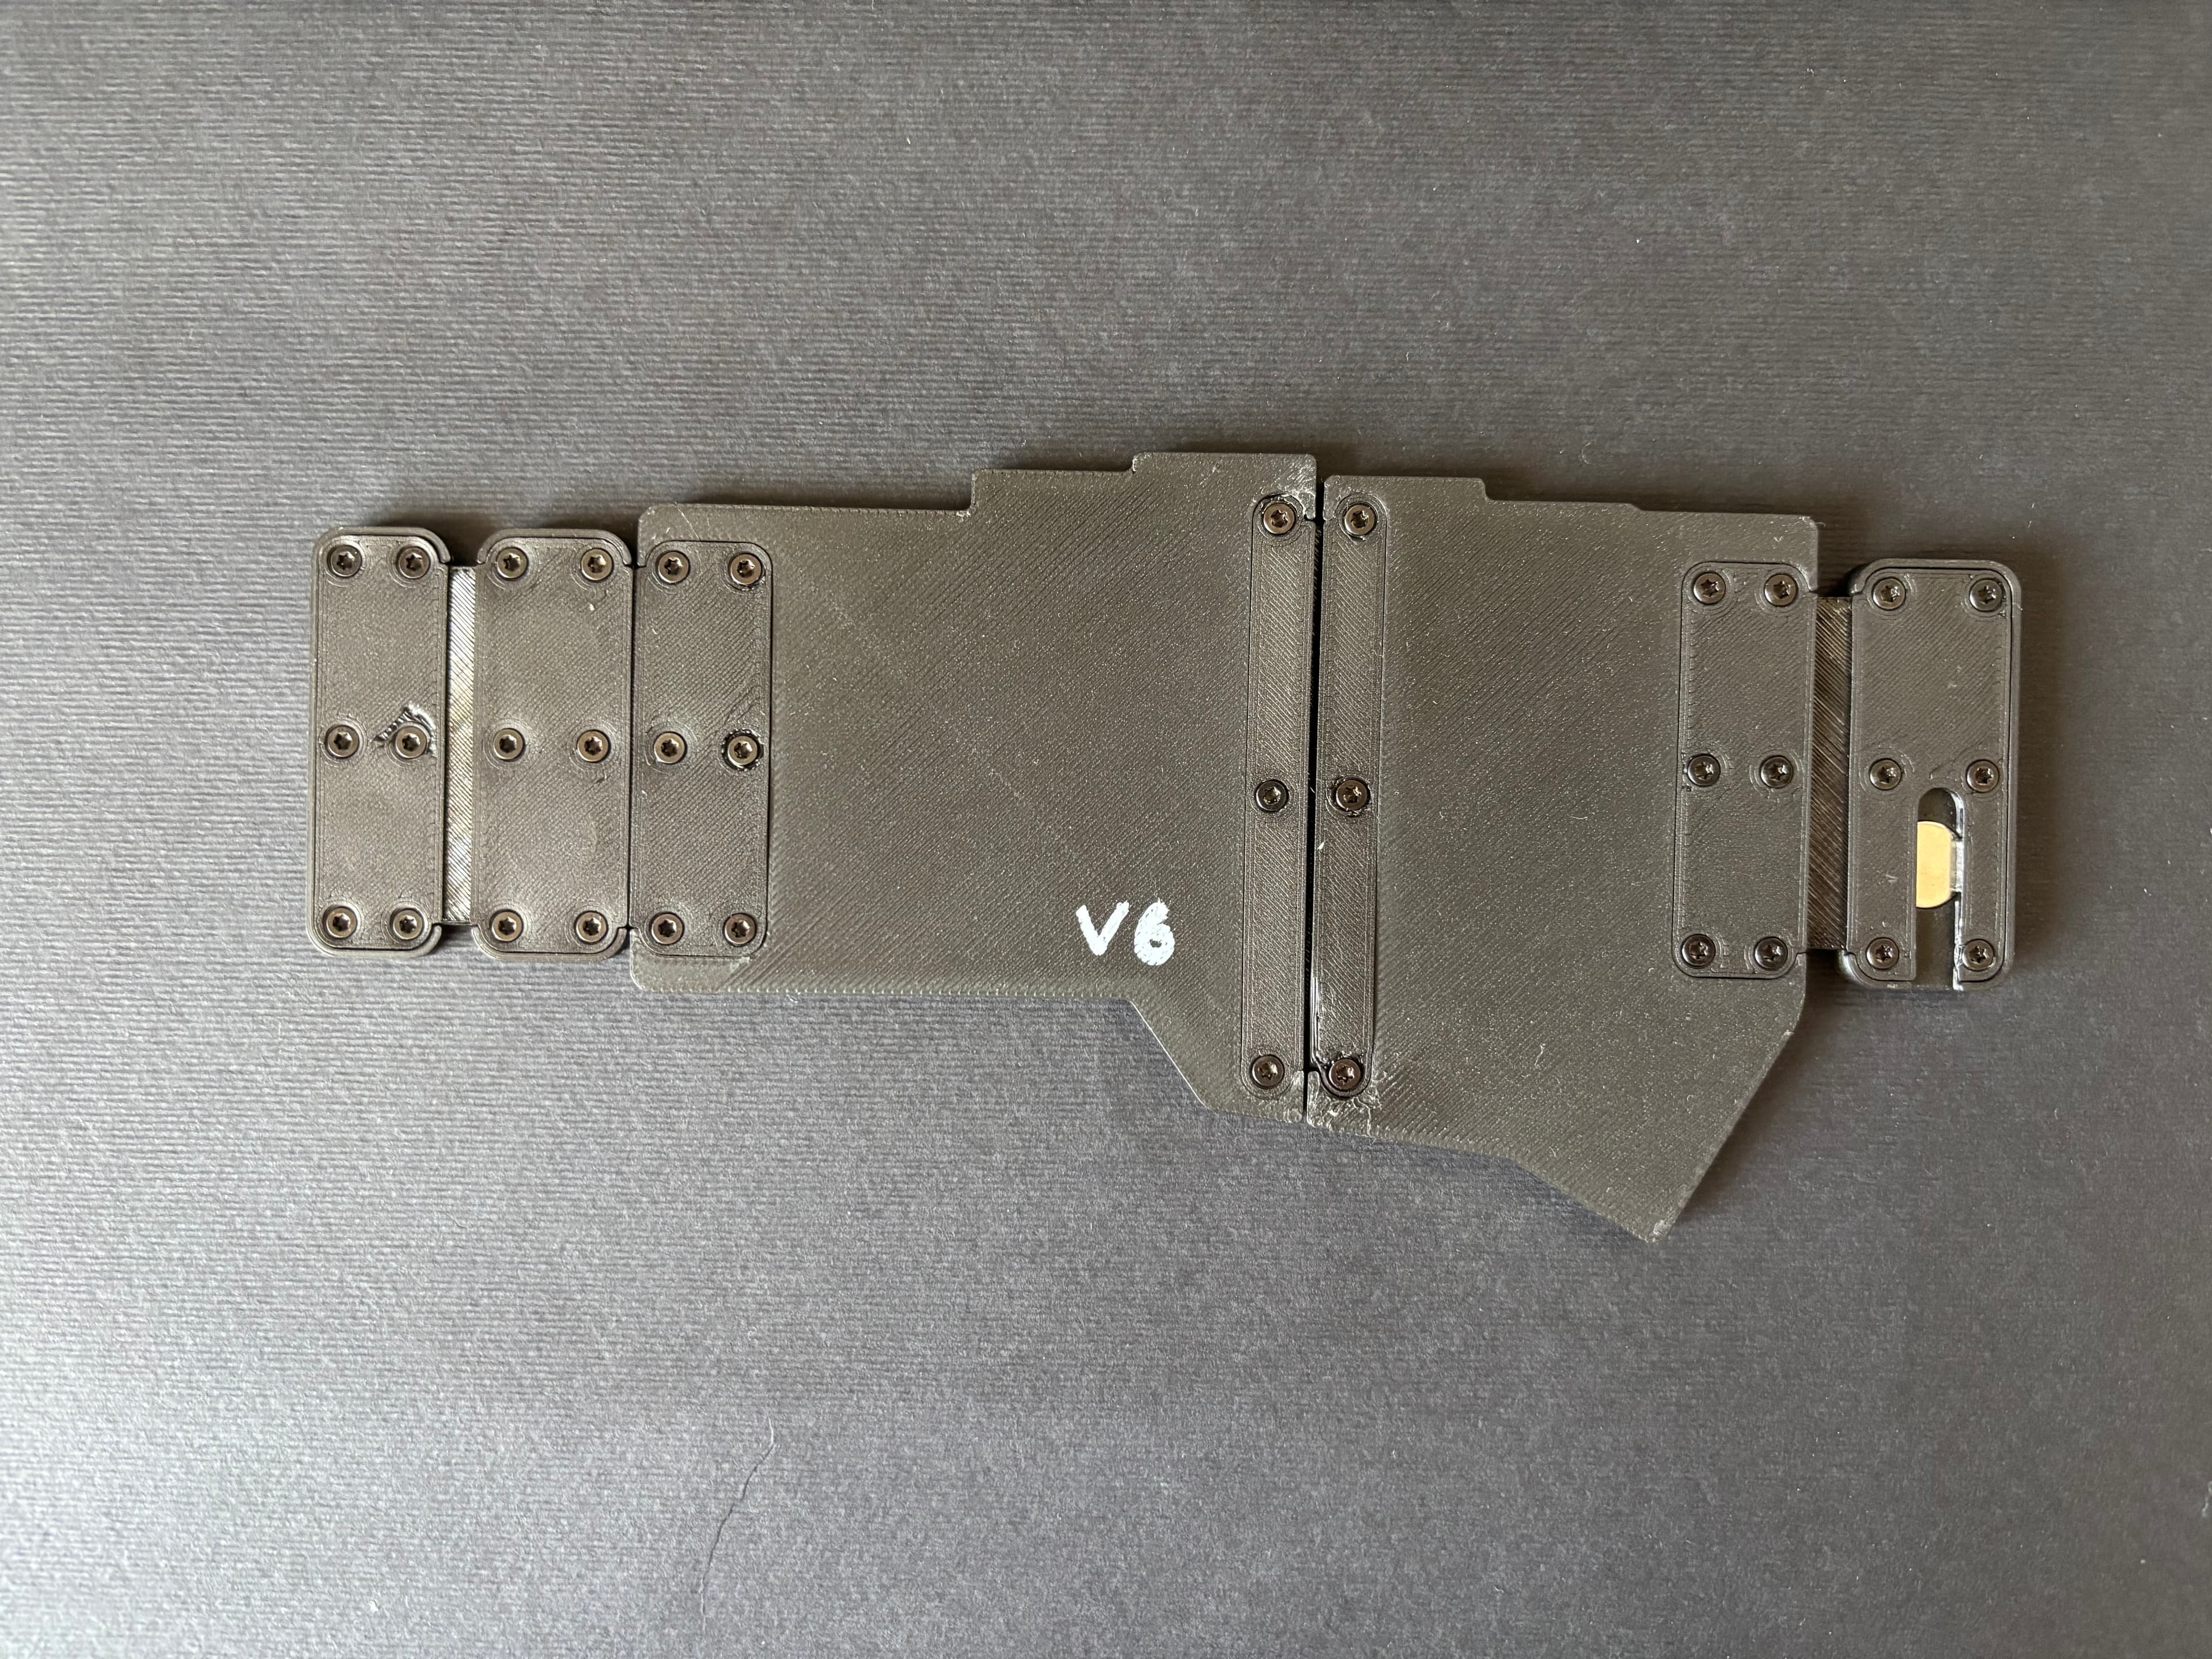
And then I iterated removing quite a lot of screws to reduce costs.
I also added some space for some nice rubber feet.
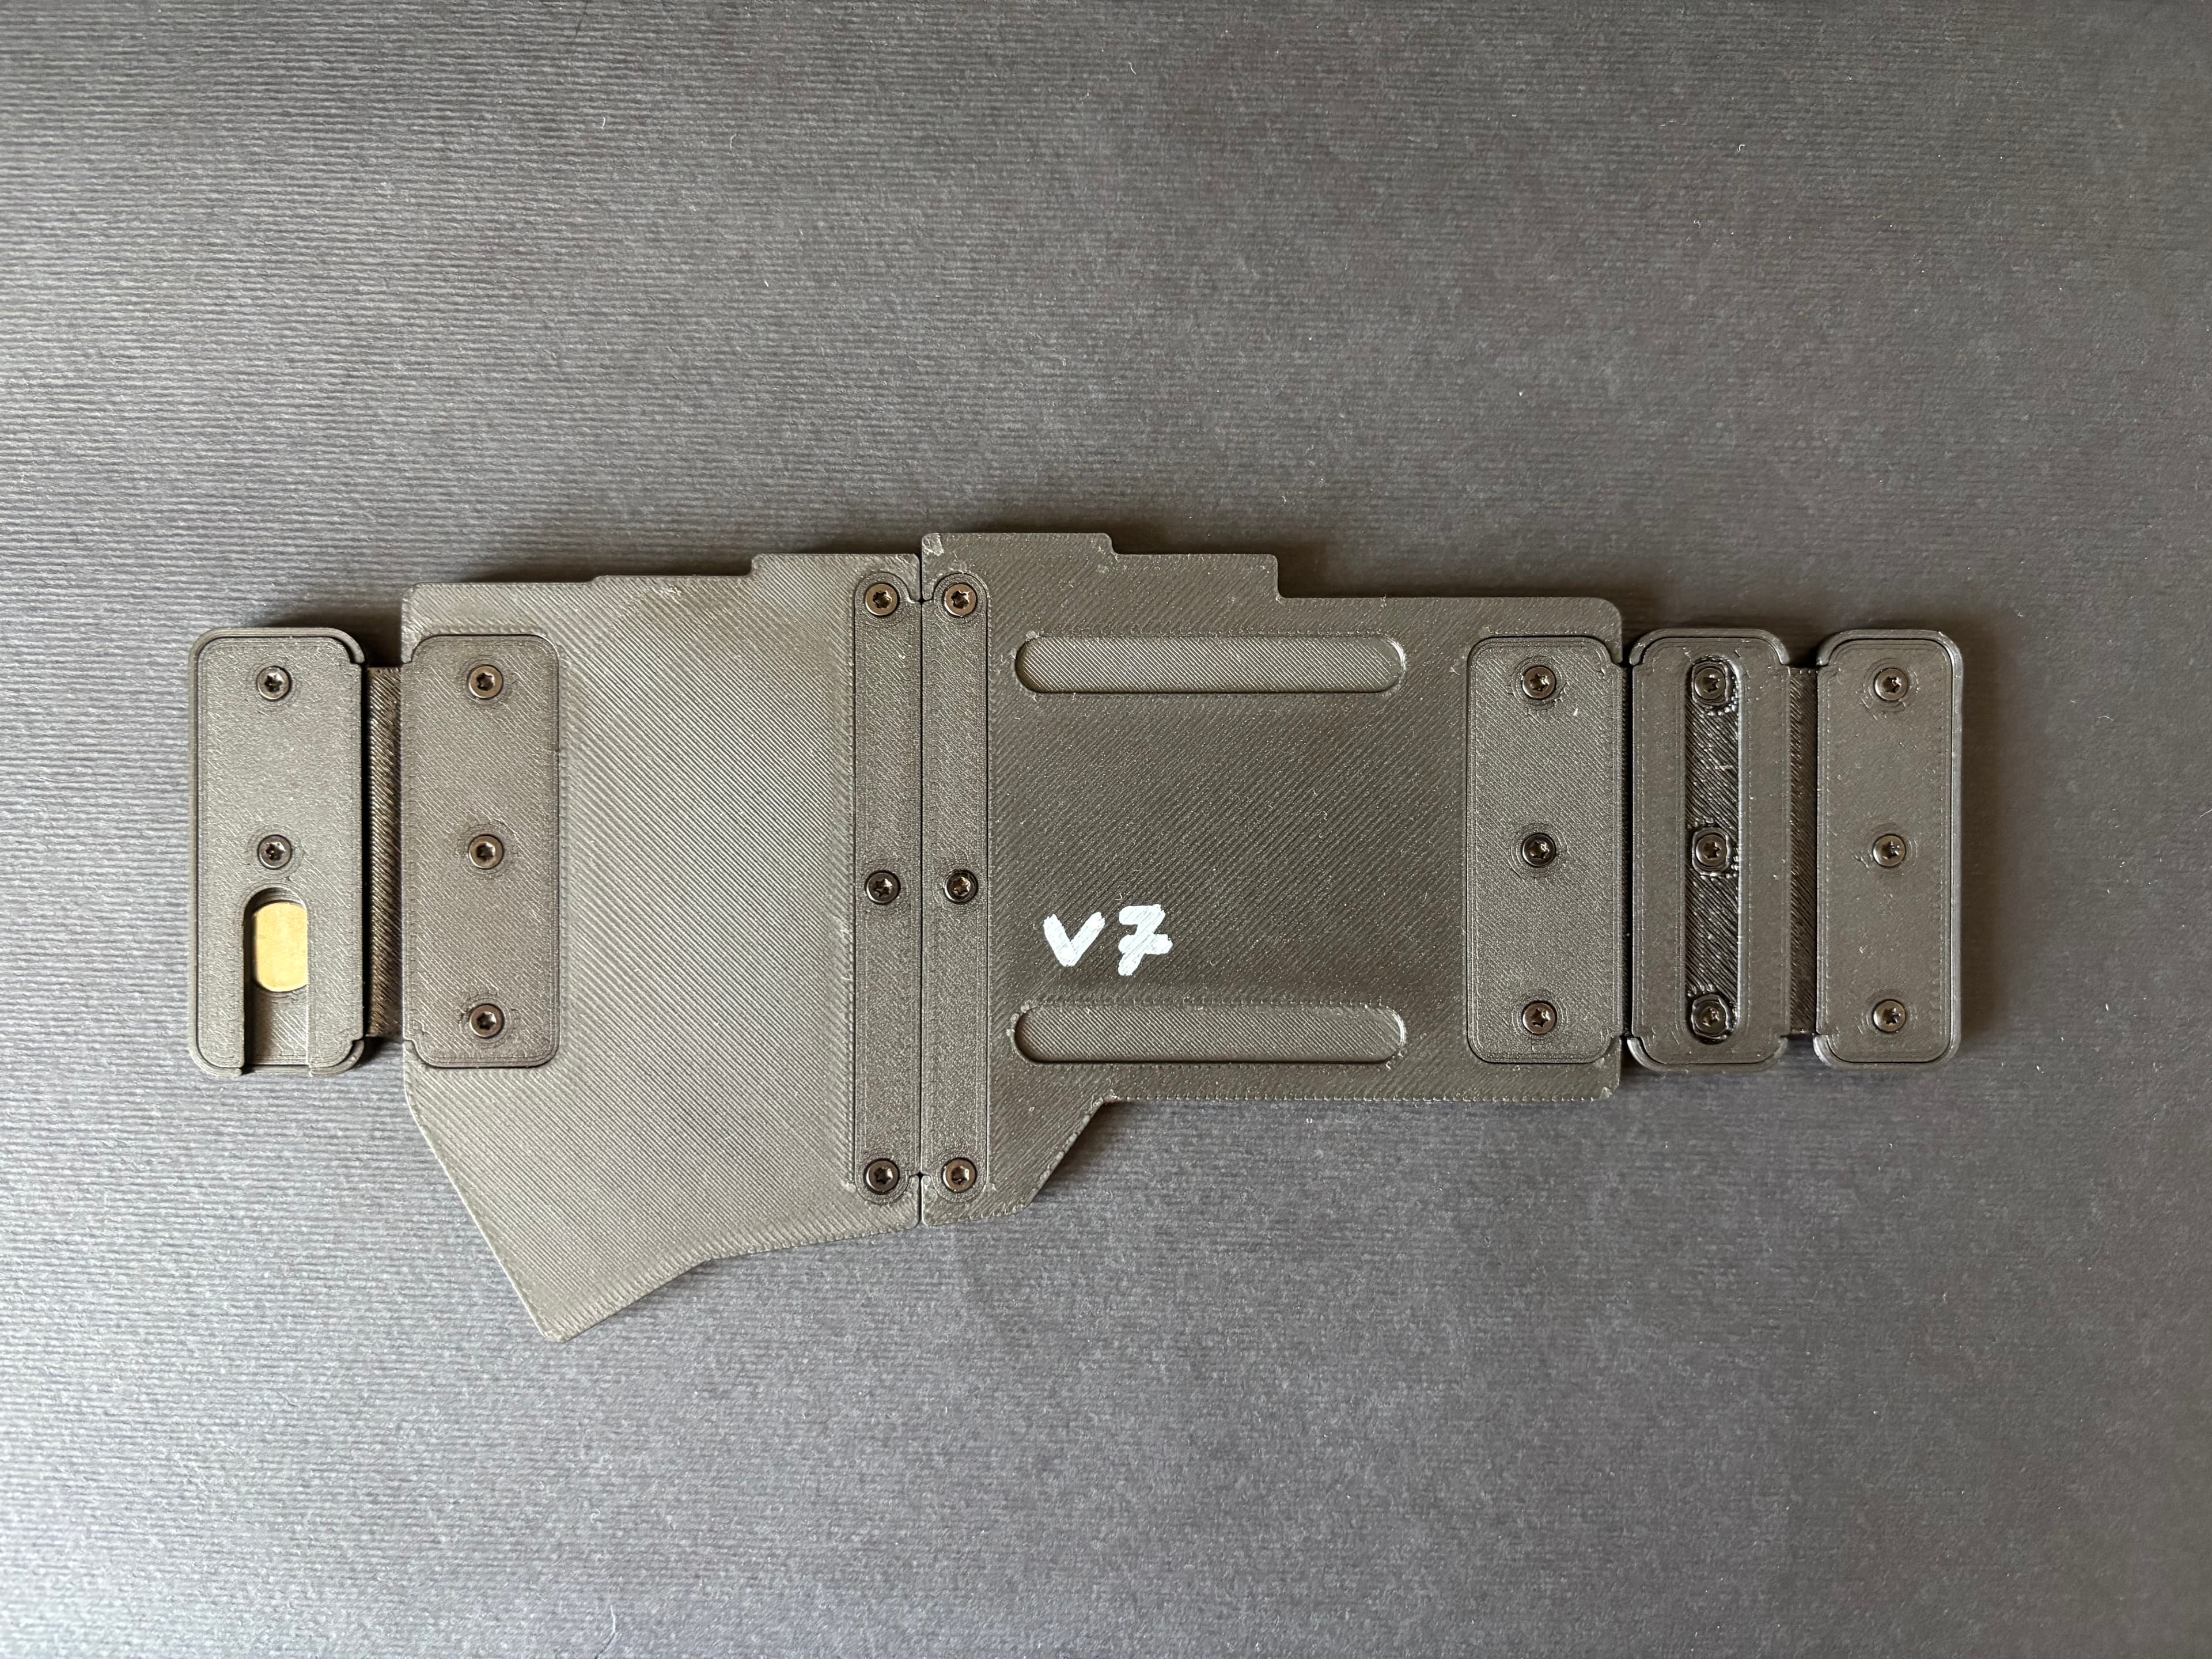
And finally, I had the crazy idea to remove the screws completely, and create a snap-lock mechanism to fix the parts together.
This was not only reducing costs, but also creating stronger parts overall, and a more solid connections, other than making it super satisfying assembling it.
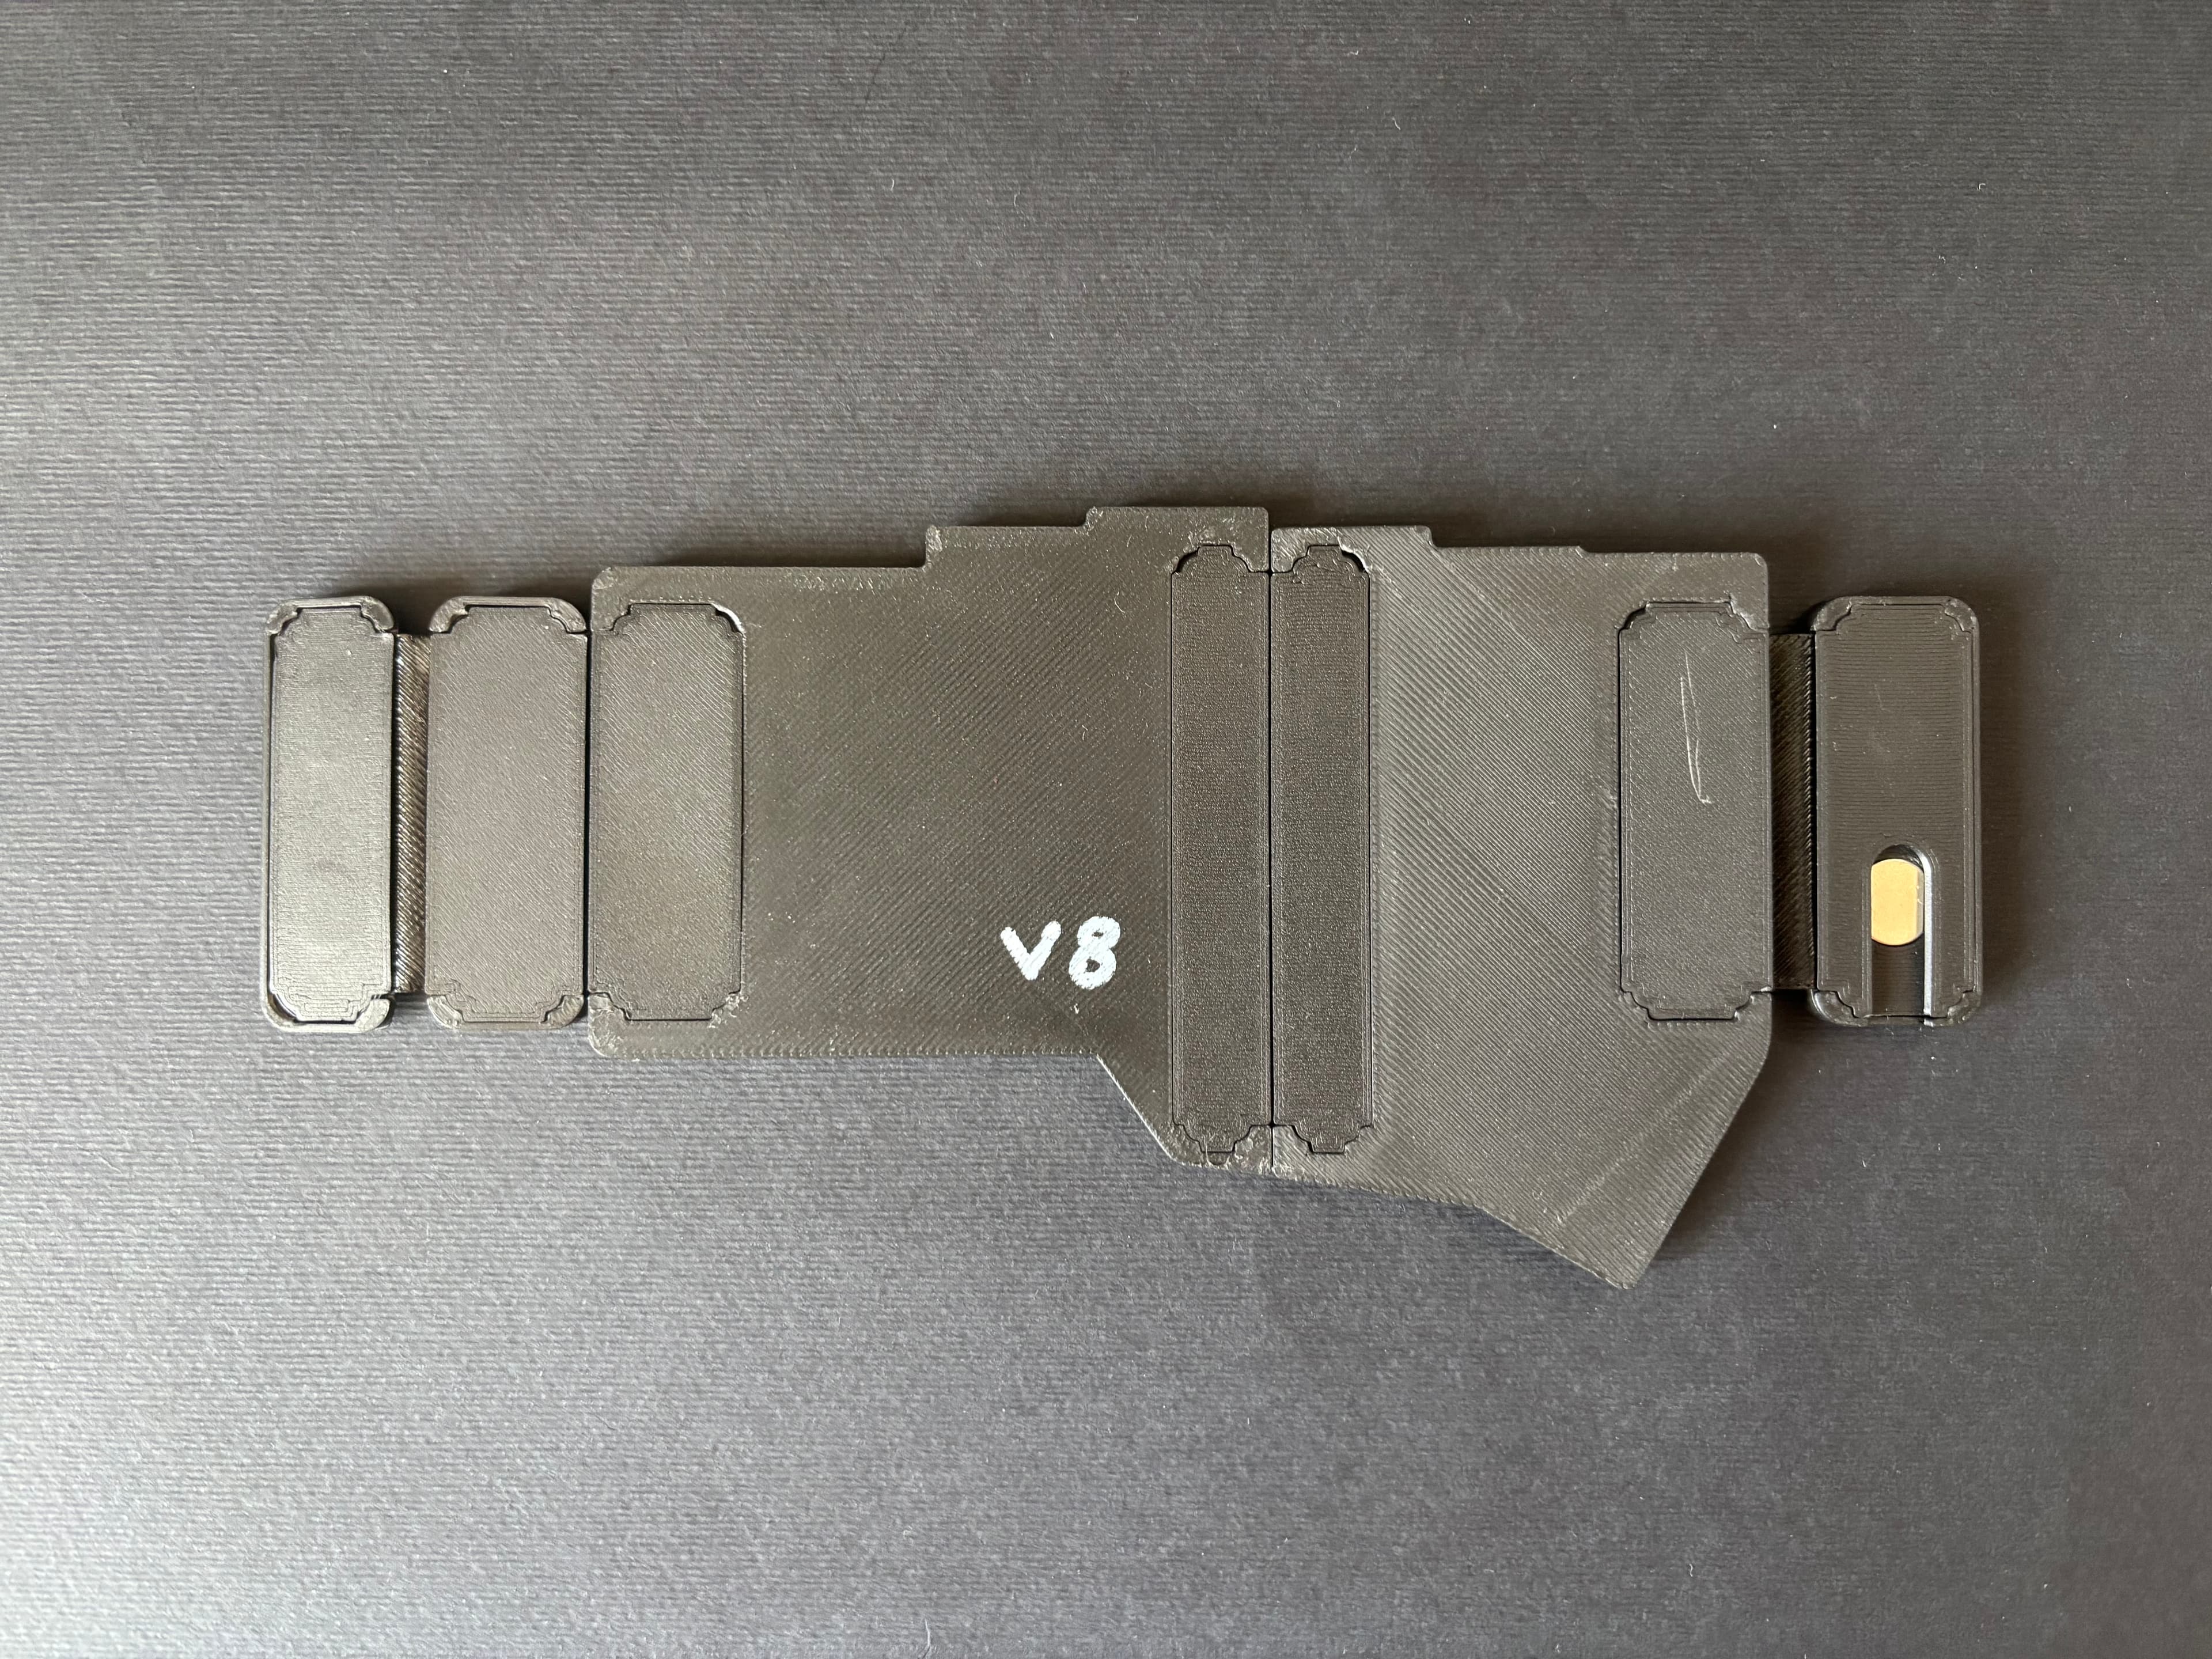
Now the “easy” part: upgrading the “shell” and making it compatible with the case.
I wanted to introduce some new features that were missing from the older keyboard shell, such as space for a larger battery and buttons to turn it on and off.
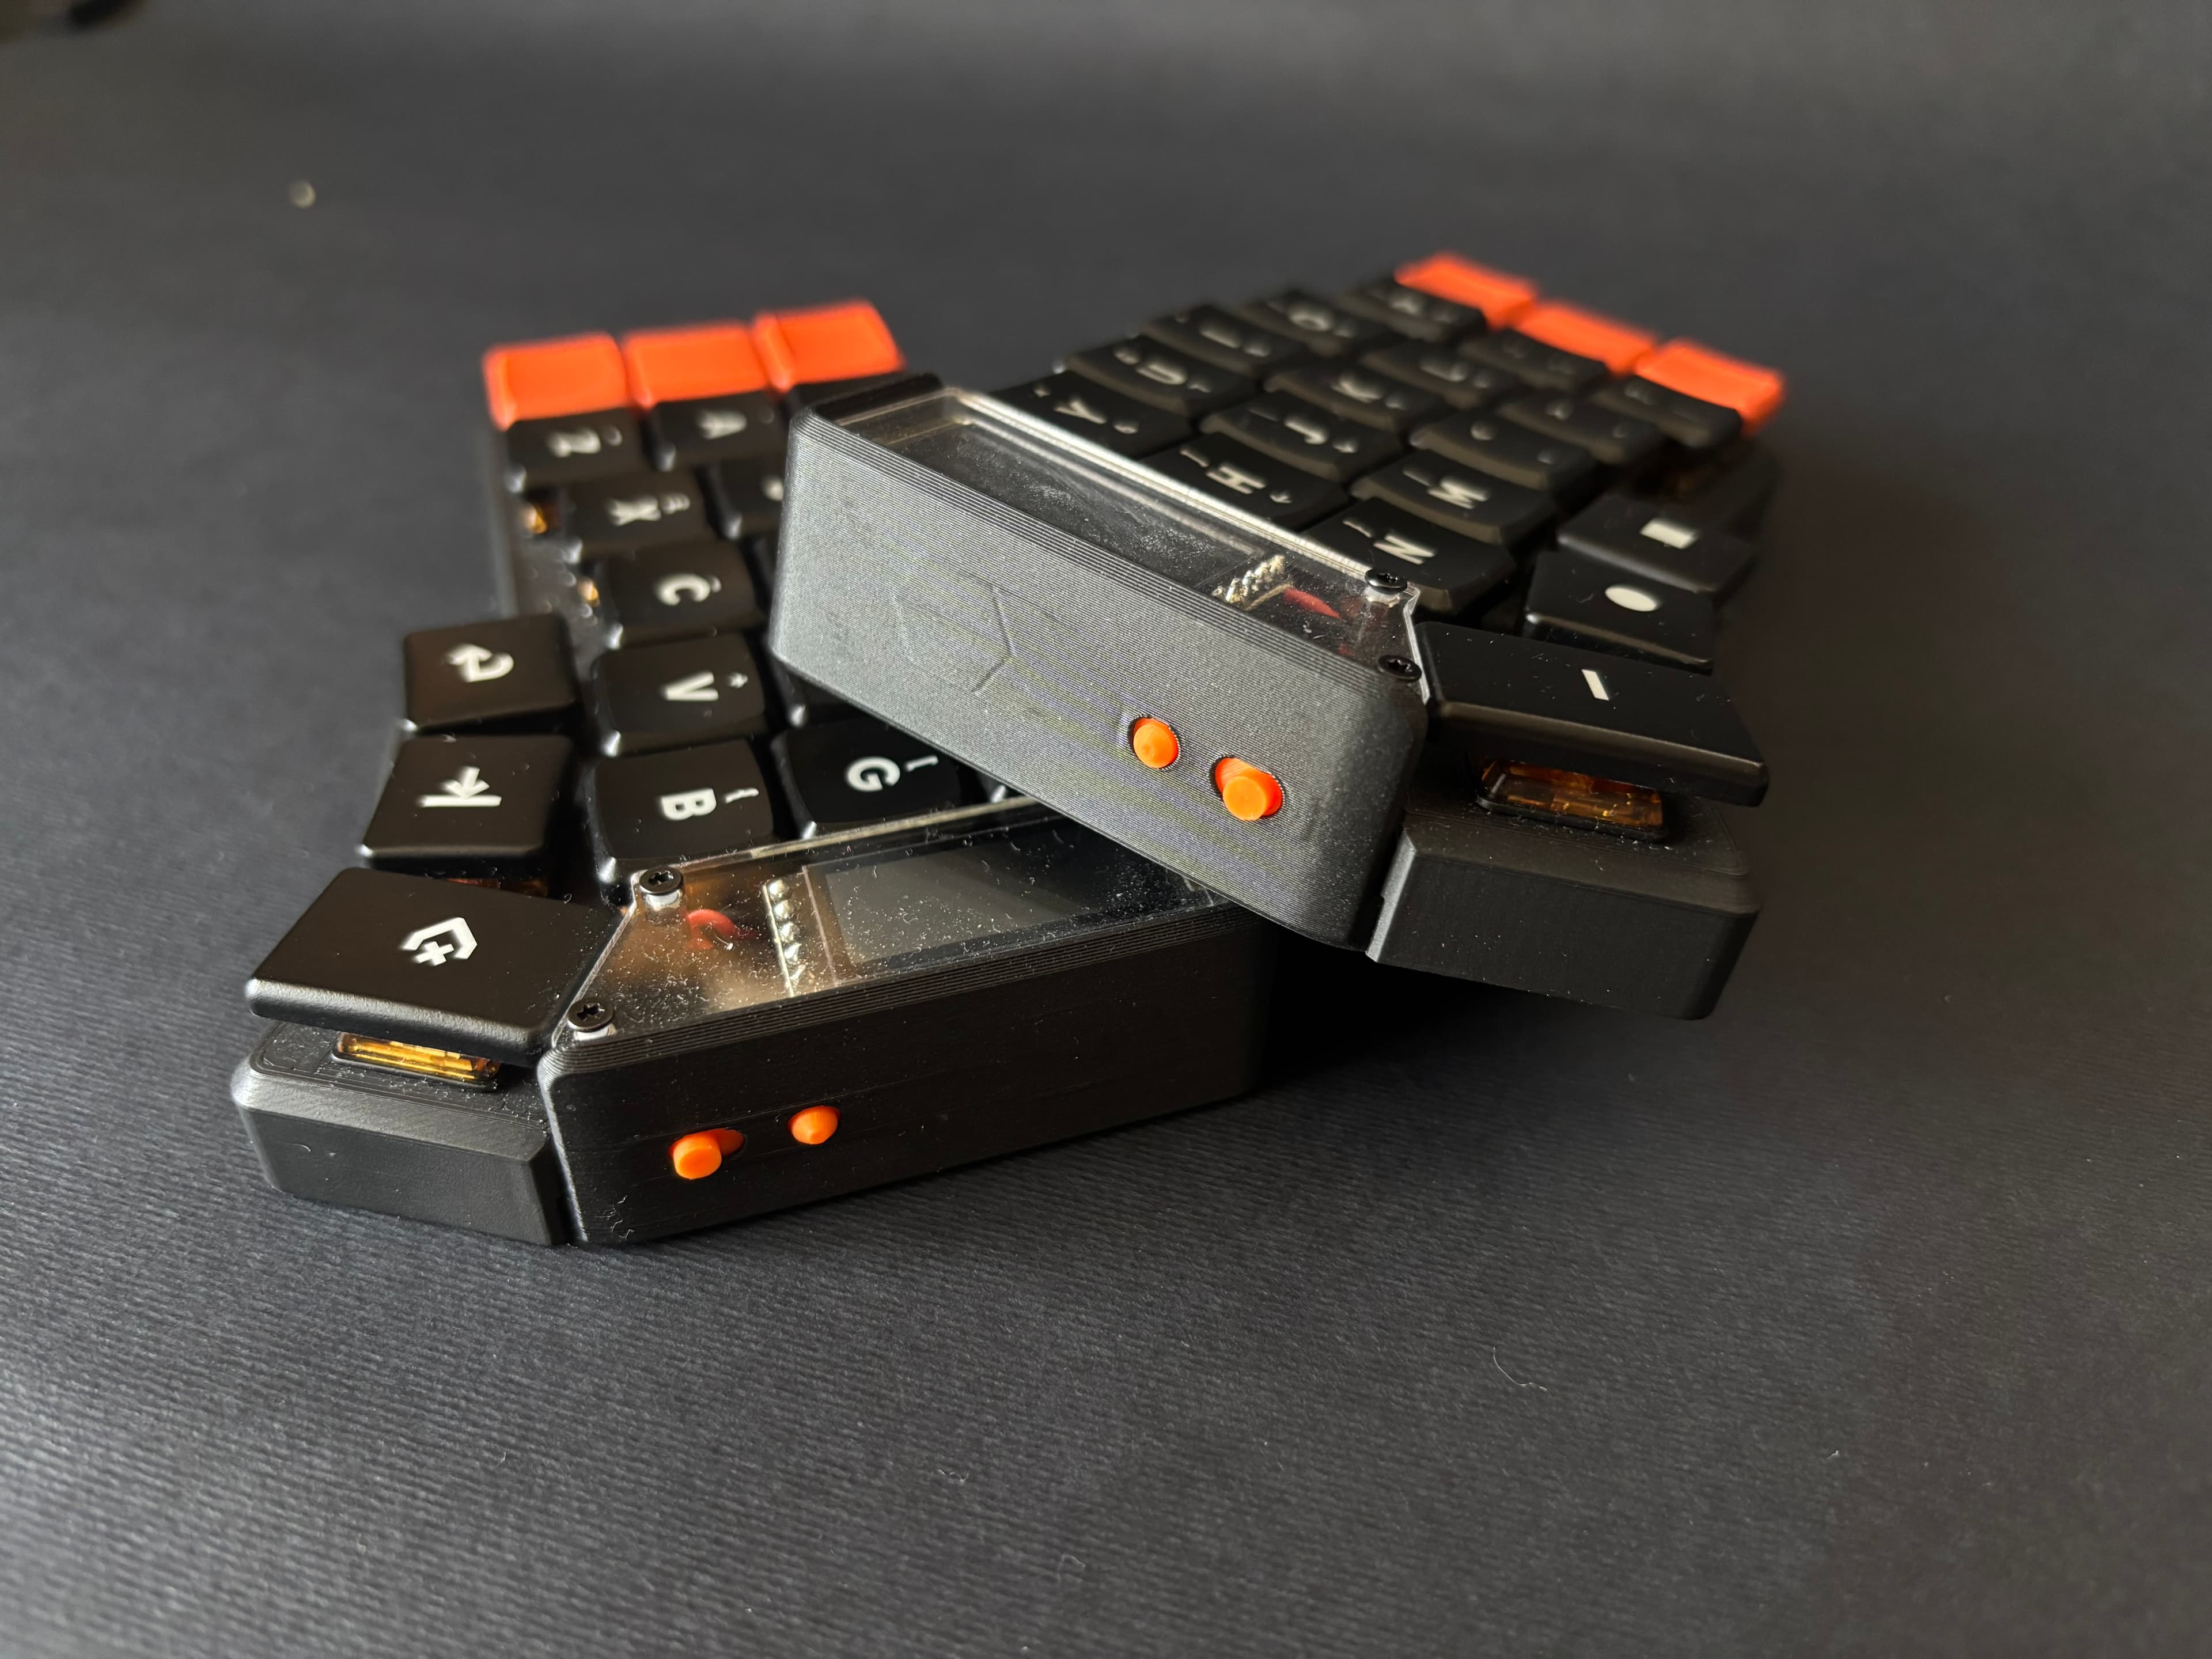
It was pretty straight forward to do that.
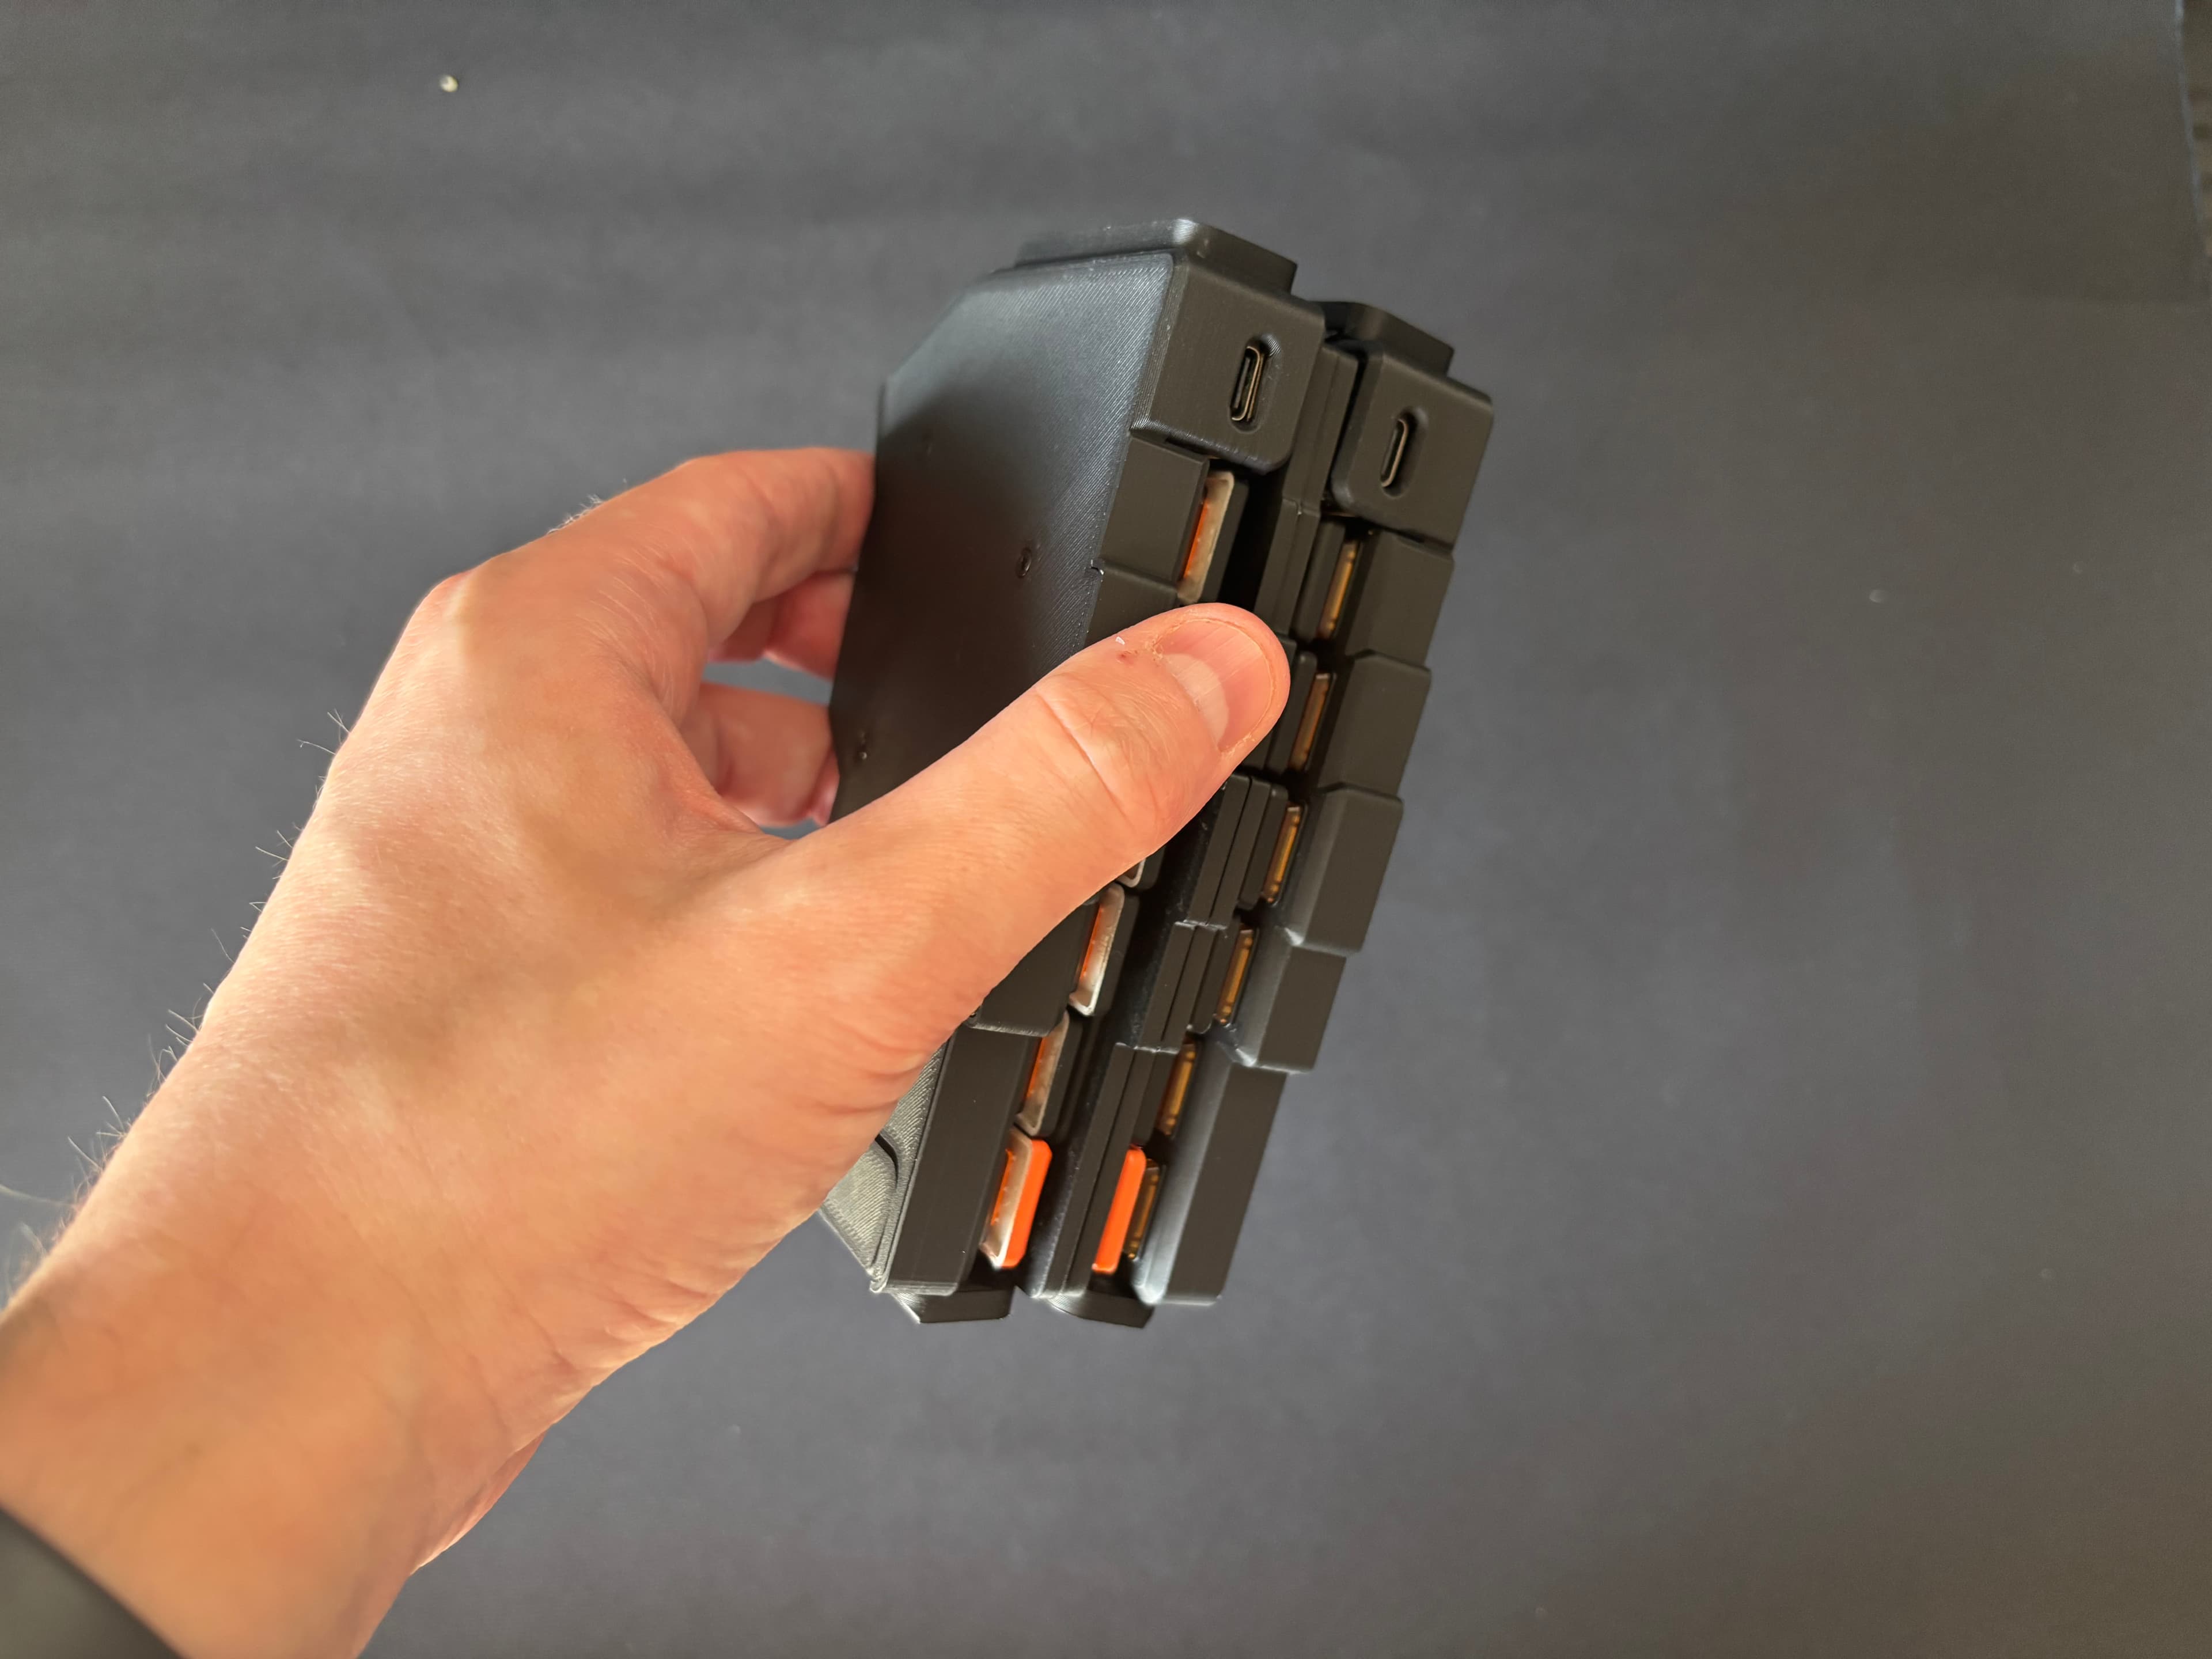
And finally, I added some magnet magic to keep the two halves together while carrying the keyboard in a bag or backpack.
And the final product is here!
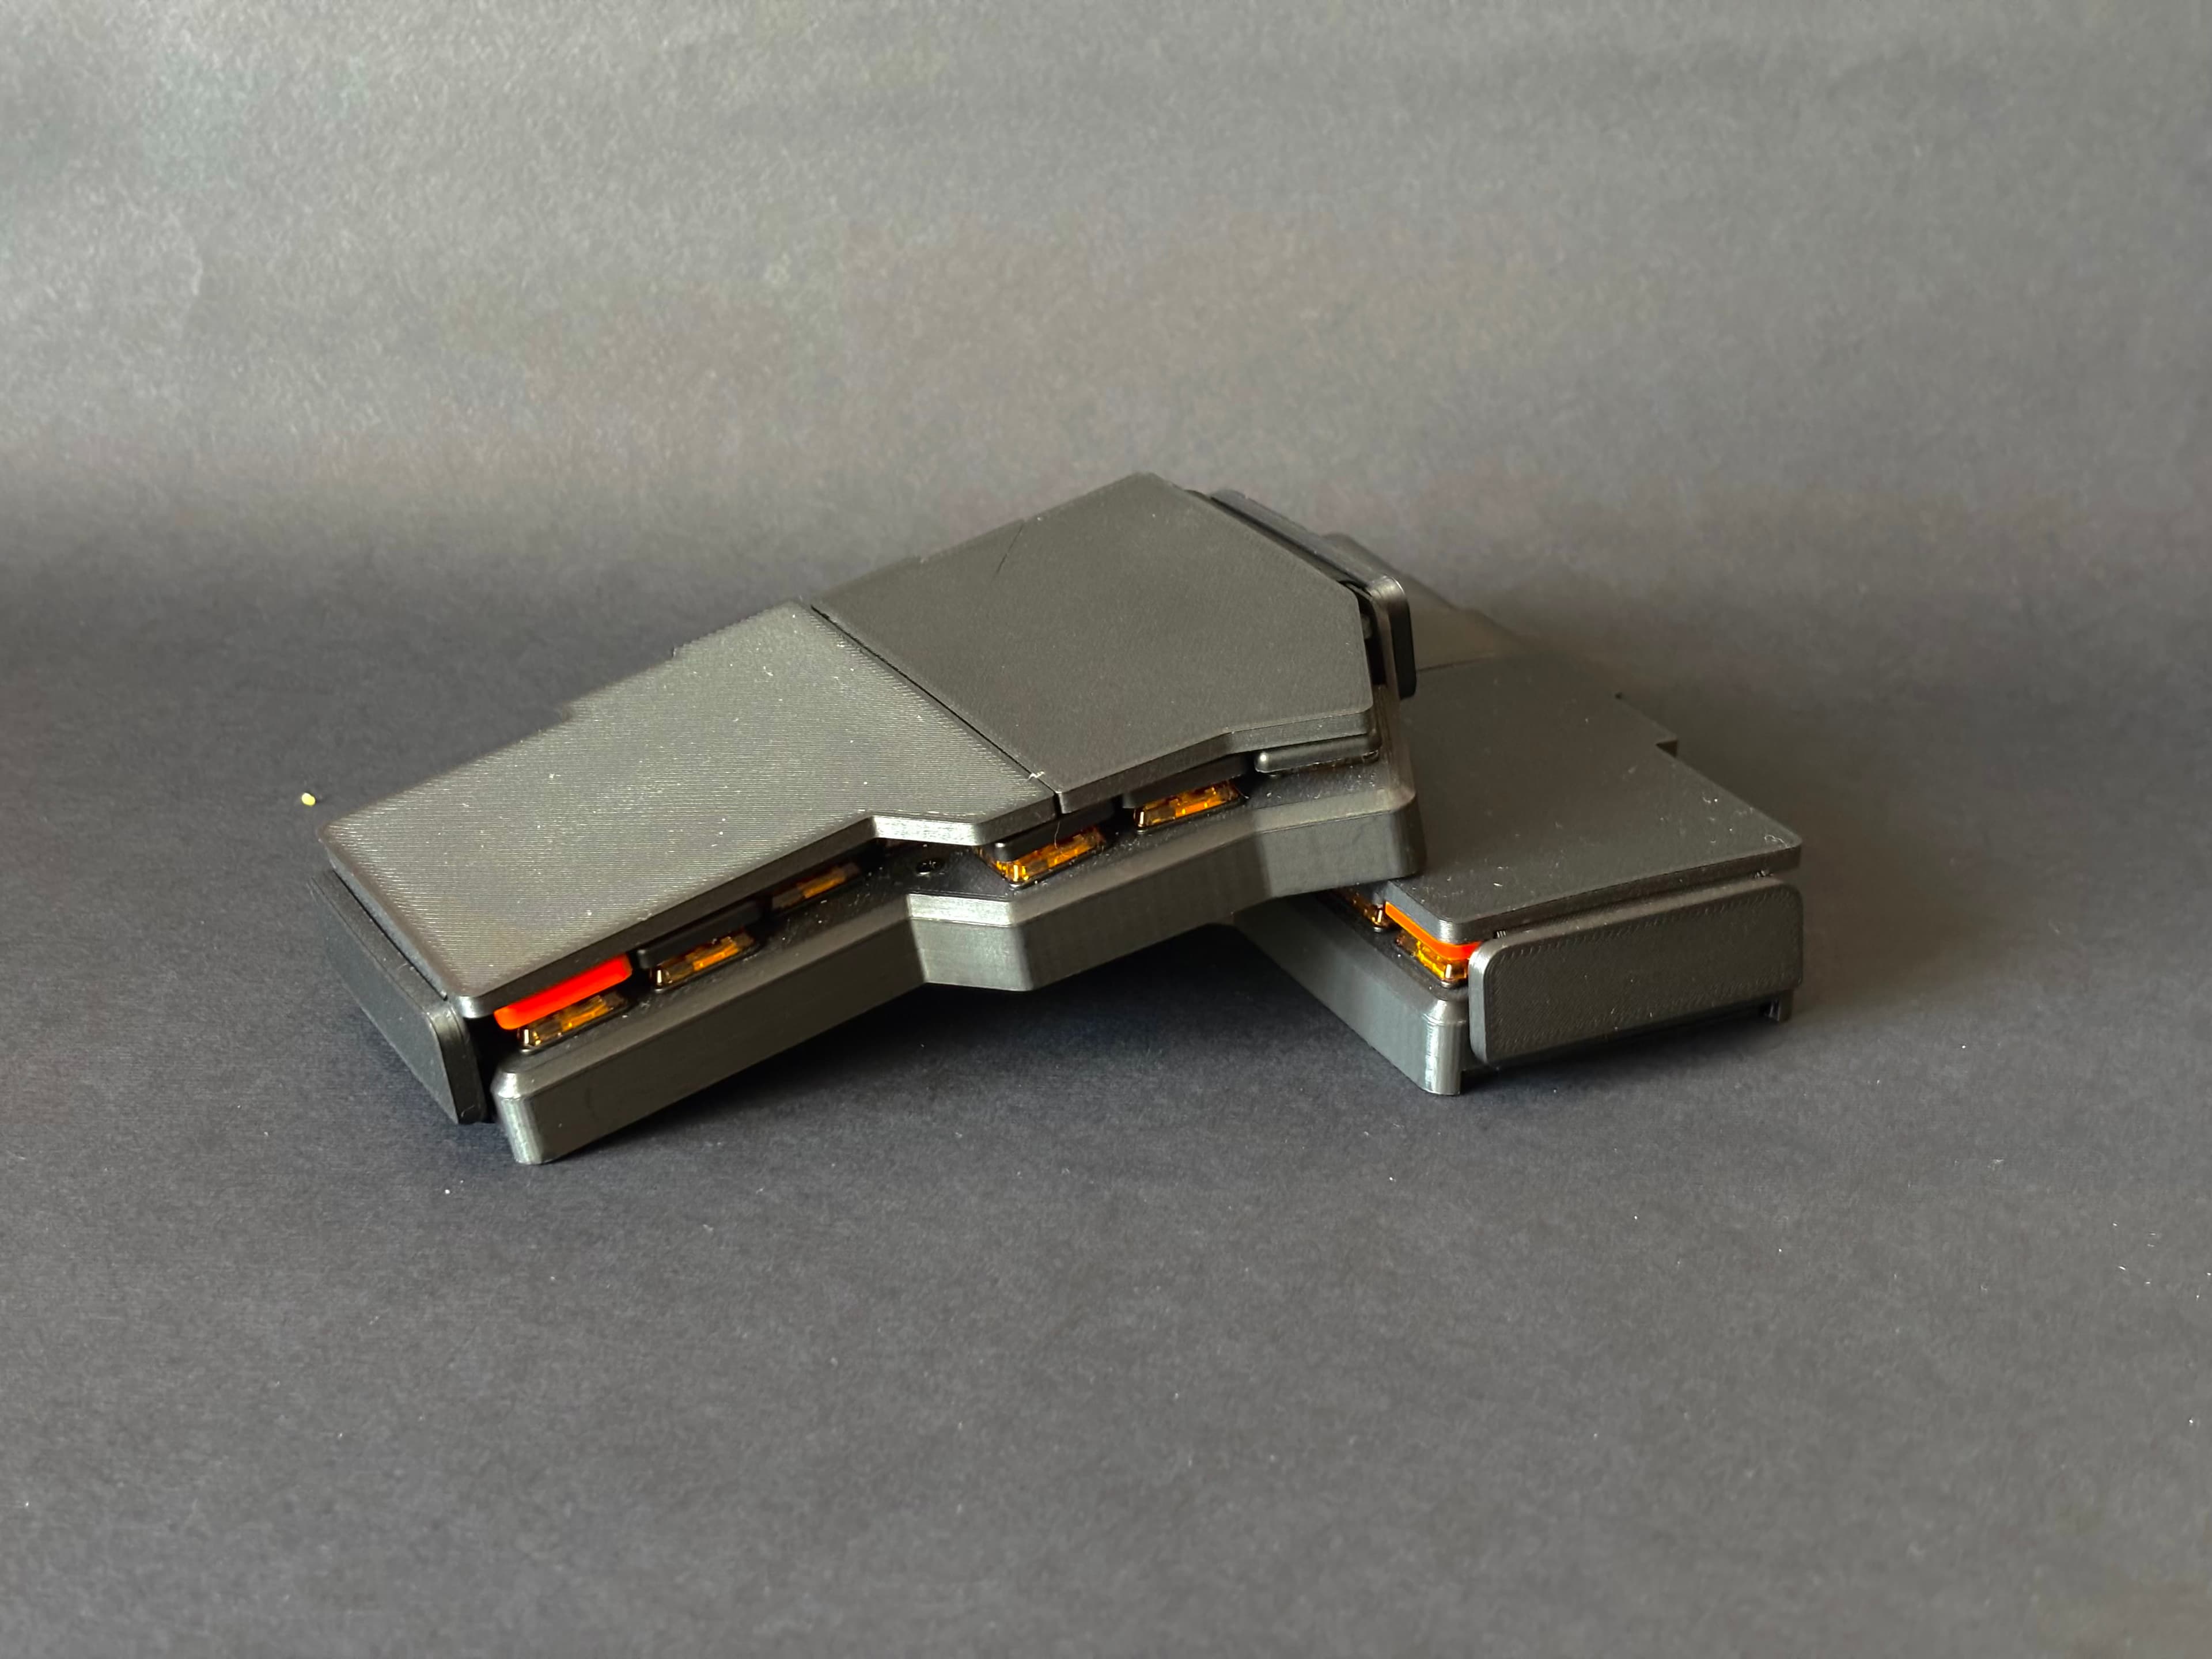
I’m really happy with the final result.
It took almost three years of trials and errors during weekends to perfection it.
If you wanna know more about the keyboard layout I designed for this keyboard, there a blog post about that here.